Are you looking for a way to transform your cooking routine? Did you know that using a crockpot can save you up to 20% of your meal prep time compared to traditional cooking methods? Discover 5 mouthwatering crockpot recipes with deer meat! Save time, enjoy rich flavors, and learn tips for tender, slow-cooked perfection. These recipes will not only thrill your taste buds but also bring the warmth of home-cooked meals to your table effortlessly.
Ingredients List
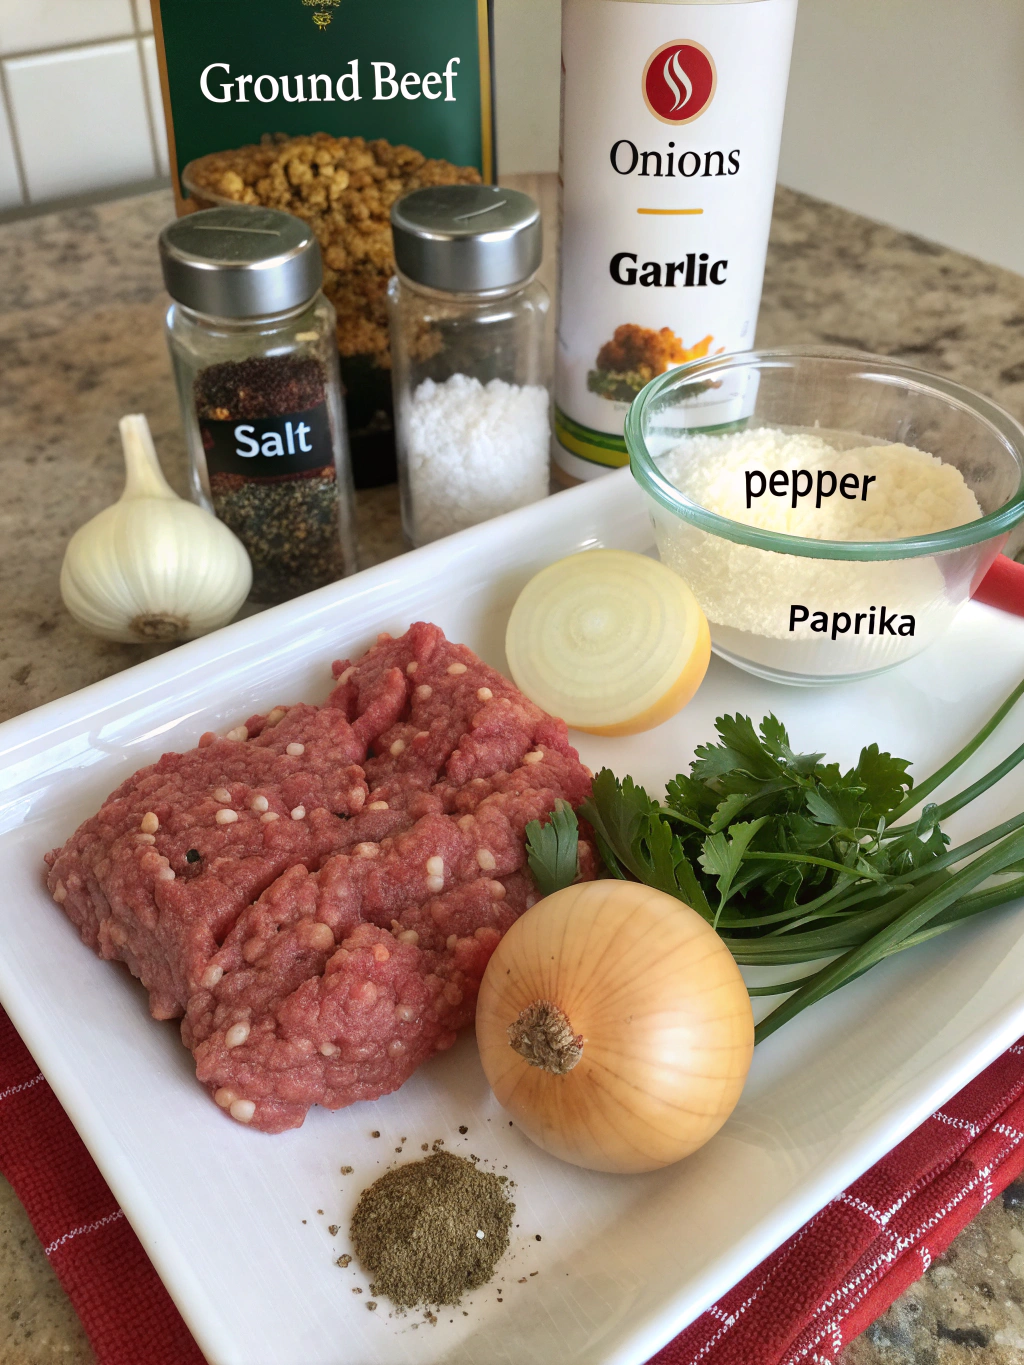
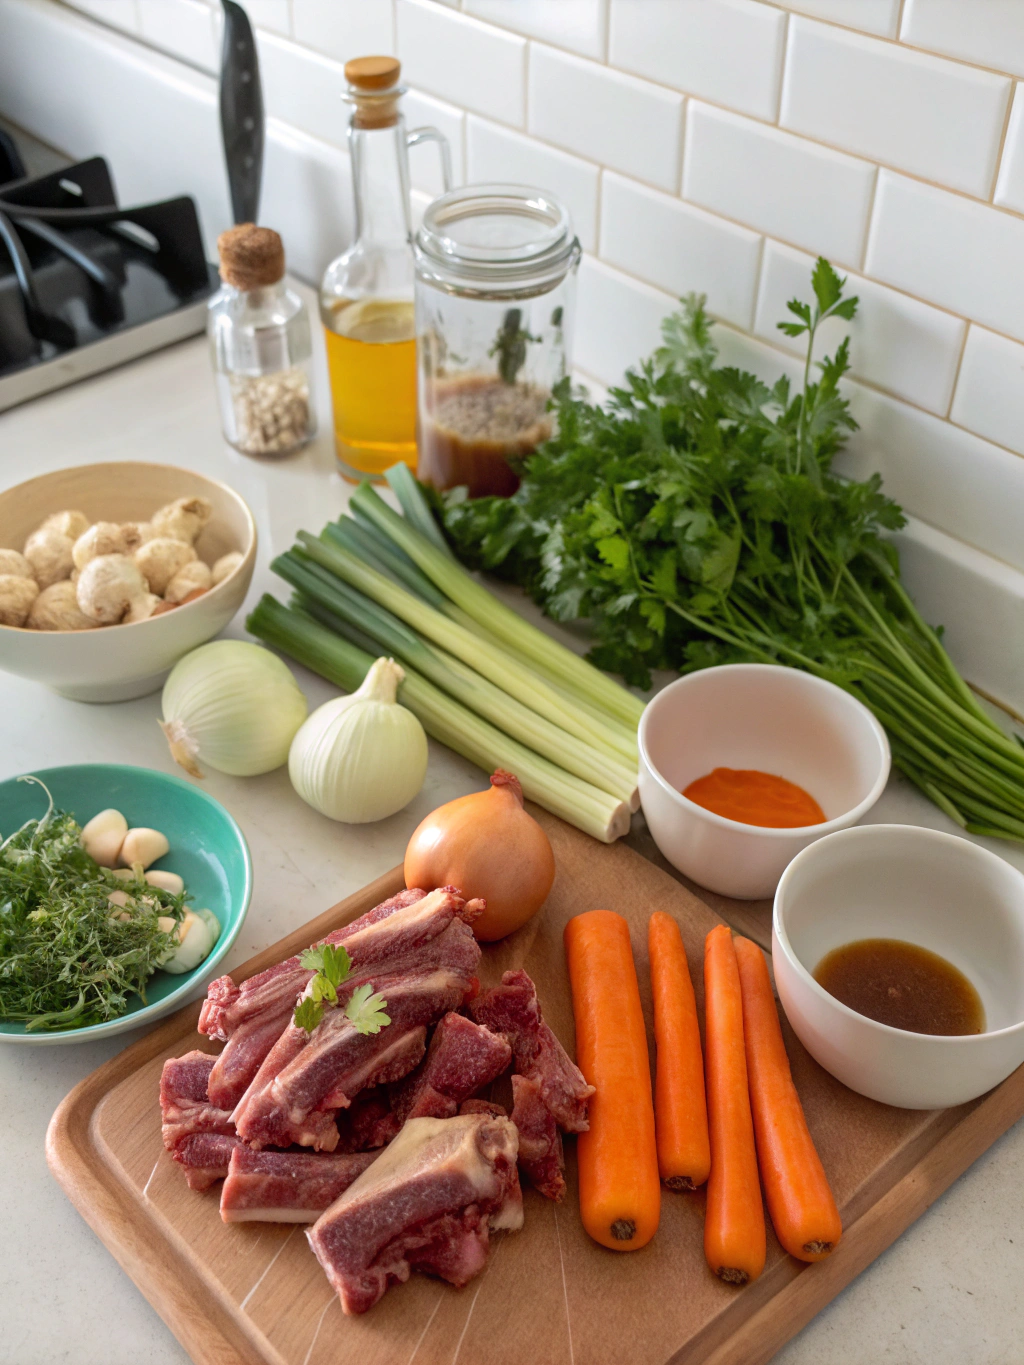
To create these delectable deer meat dishes, you’ll need the following ingredients. Each dish highlights robust flavors, perfect for slow cooking. Here’s a comprehensive list with some substitution ideas to cater to your culinary needs:
- 1.5 – 2 lbs of venison (deer meat) chunks (or beef if you prefer a different flavor)
- 1 large onion, chopped
- 3 cloves garlic, minced
- 2 cups of beef or vegetable broth (chicken broth can also work)
- 4 carrots, sliced (substitute with sweet potatoes for a sweeter touch)
- 3 potatoes, diced (you may use cauliflower for a low-carb option)
- 1 can of diced tomatoes (or substitute with tomato sauce)
- 2 tablespoons Worcestershire sauce
- 1 tablespoon dried thyme
- Salt and pepper, to taste
These ingredients come together to create mouthwatering flavors and deeply satisfying meals.
Timing
When preparing these delectable crockpot recipes, you’ll enjoy the ease of very little hands-on time. Preparation takes about 15 minutes, and cooking can range from 6 to 8 hours on low heat, allowing flavors to meld beautifully. This is significantly less time than traditional stewing methods, which can take upwards of 3-4 hours on the stove!
Step-by-Step Instructions
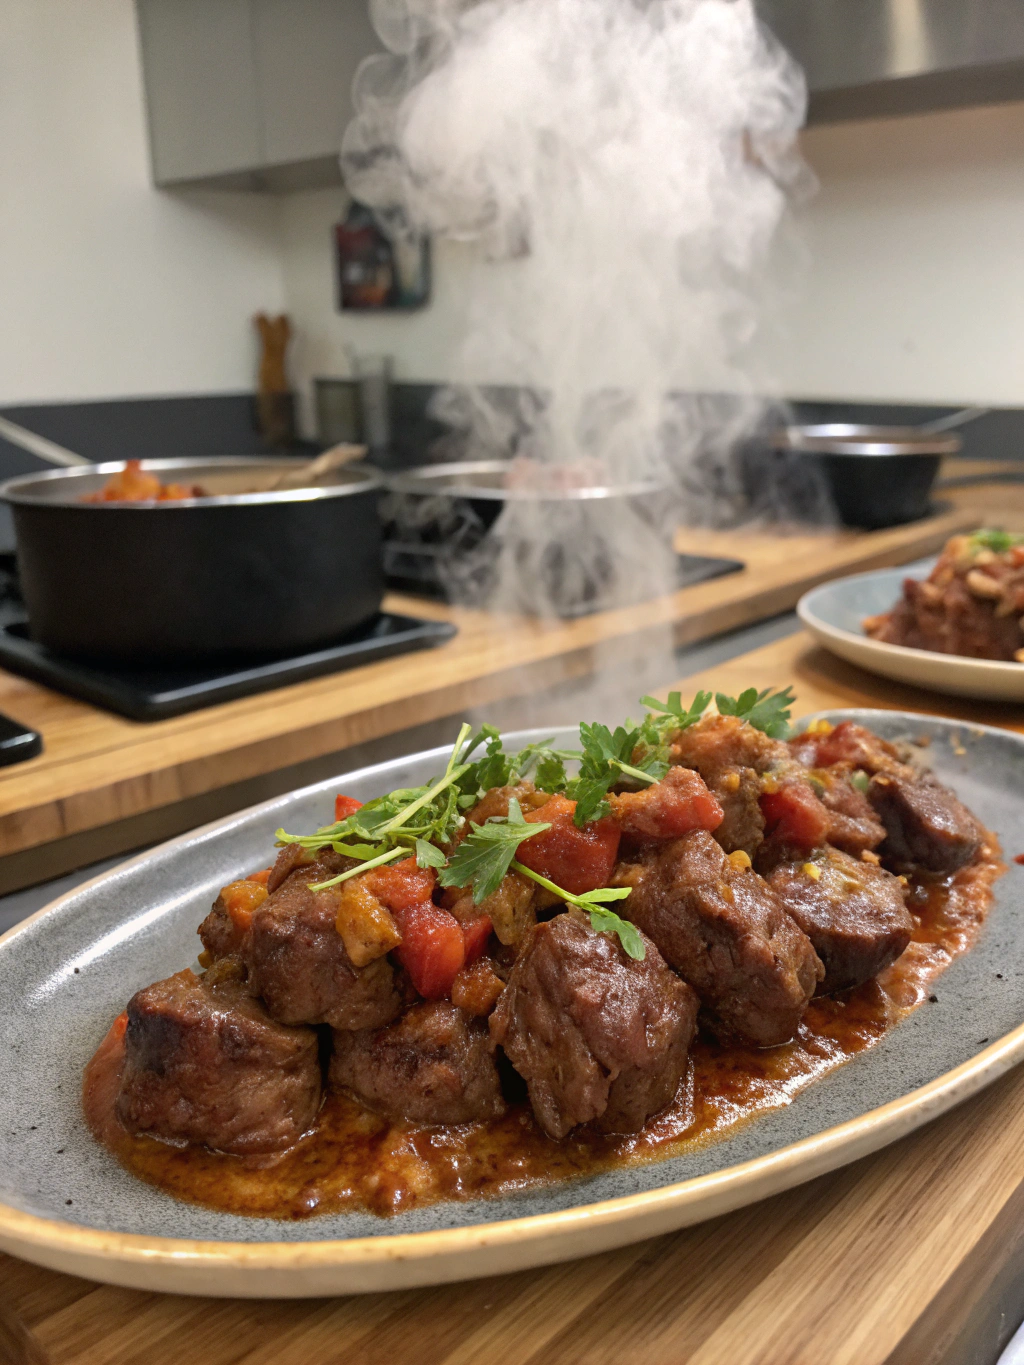
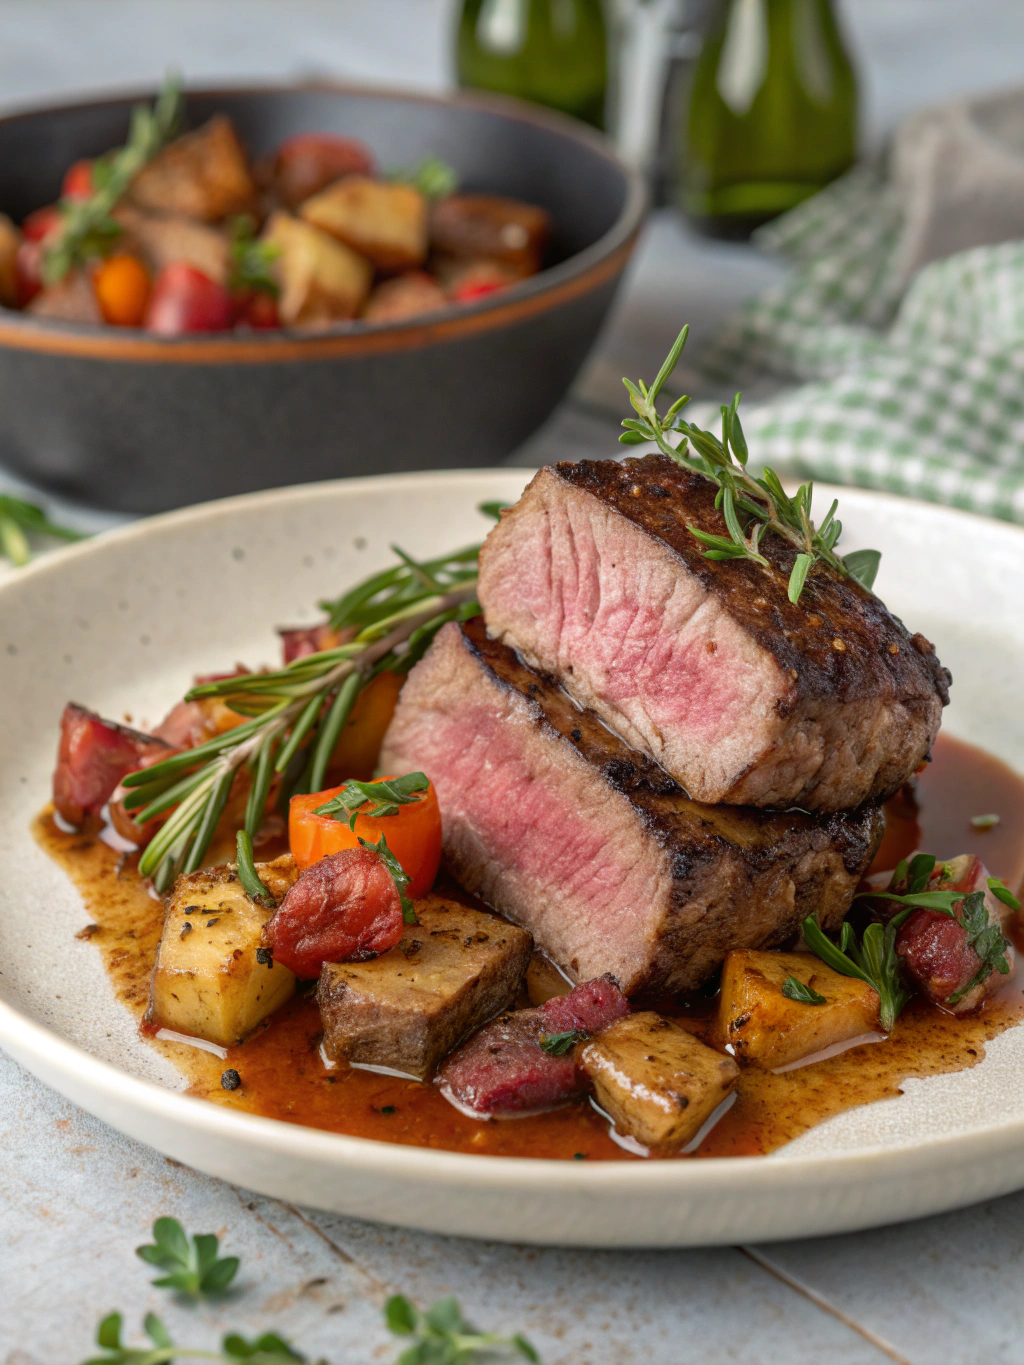
Venison Stew
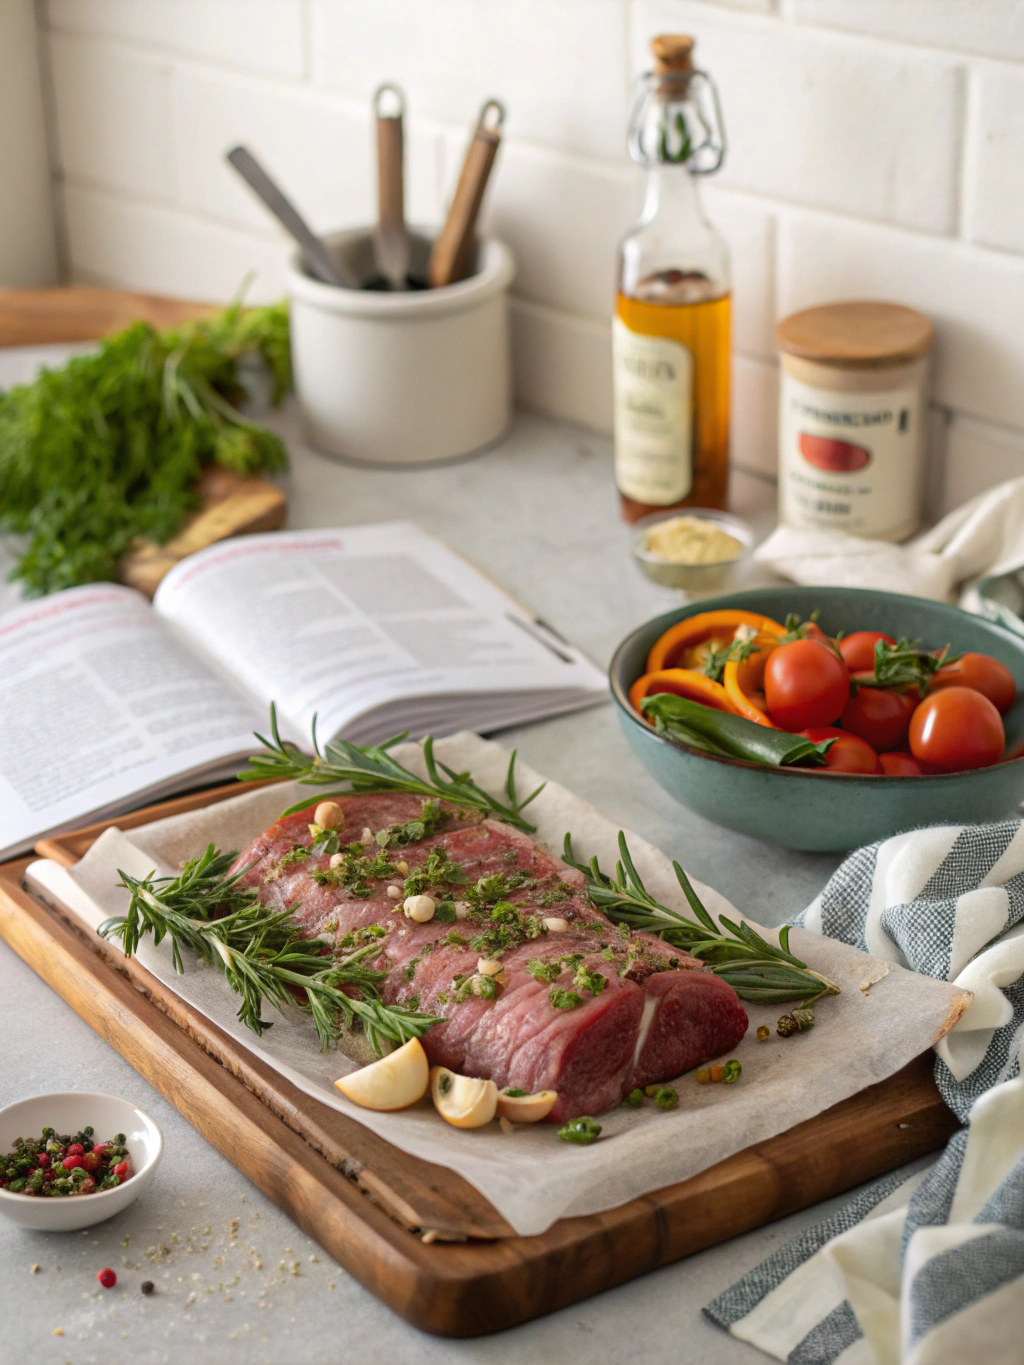
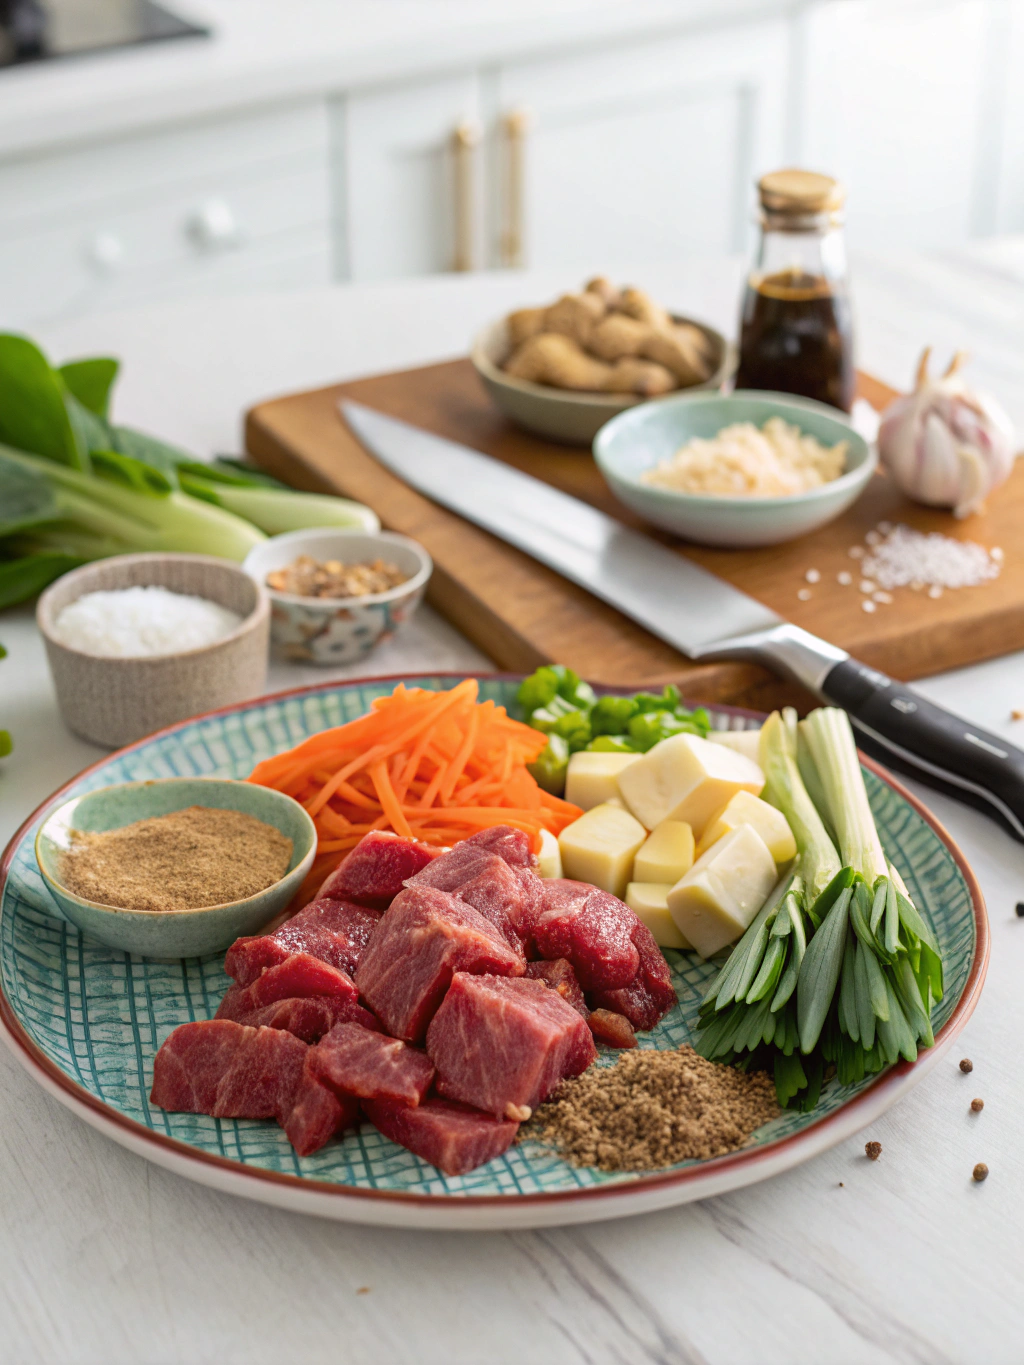
- Prepare the Venison: Trim any excess fat from the deer meat and cut it into 1-inch chunks. This ensures even cooking.
- Tip: Marinate the meat in lemon juice for 30 minutes; this will help tenderize it!
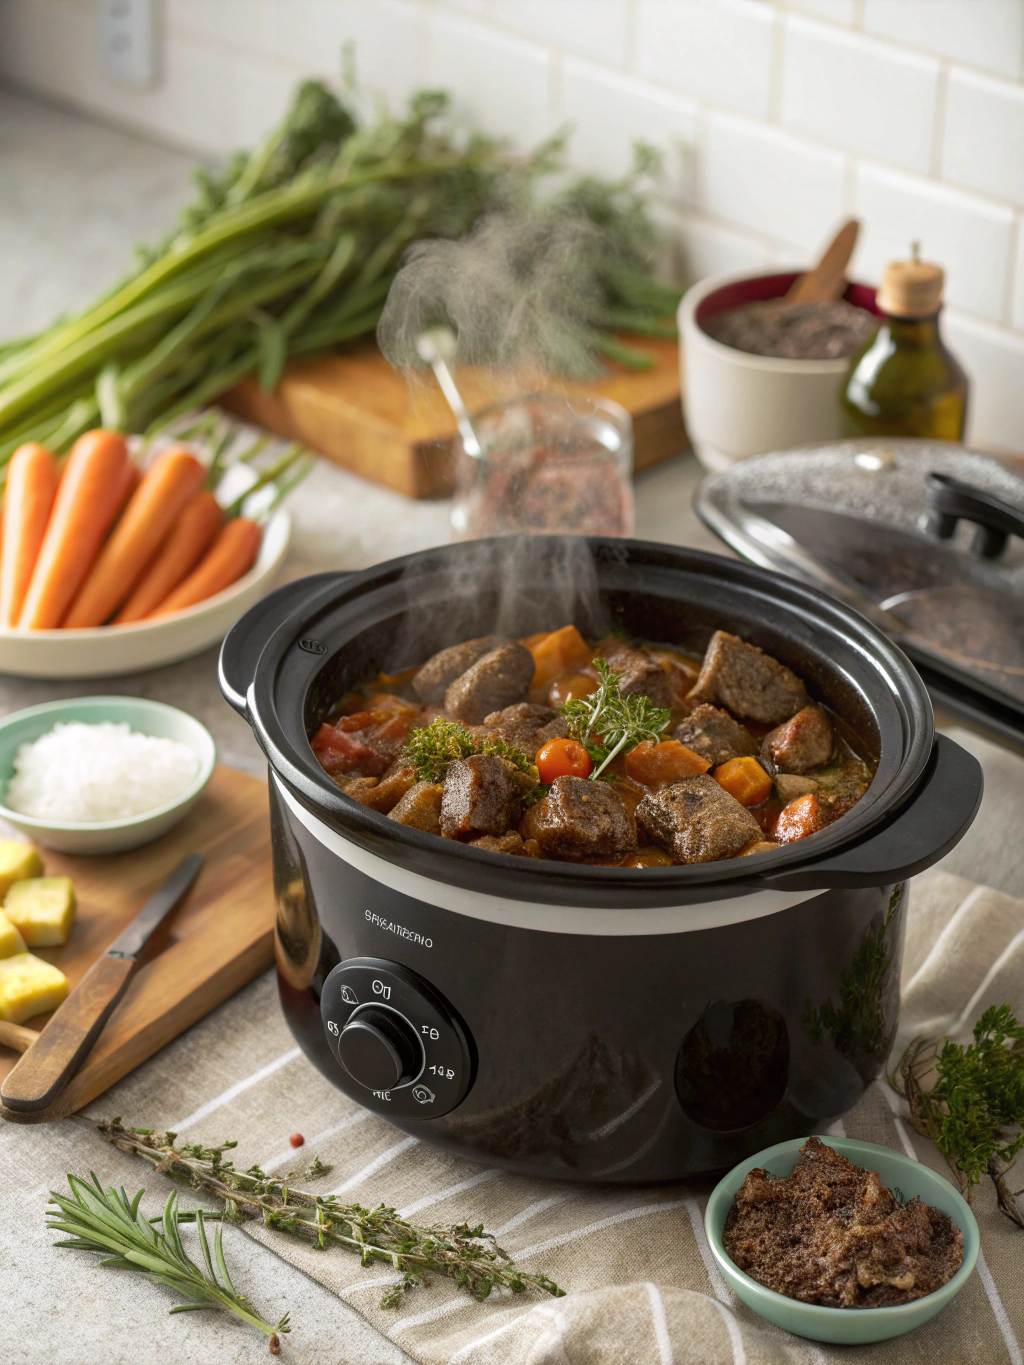
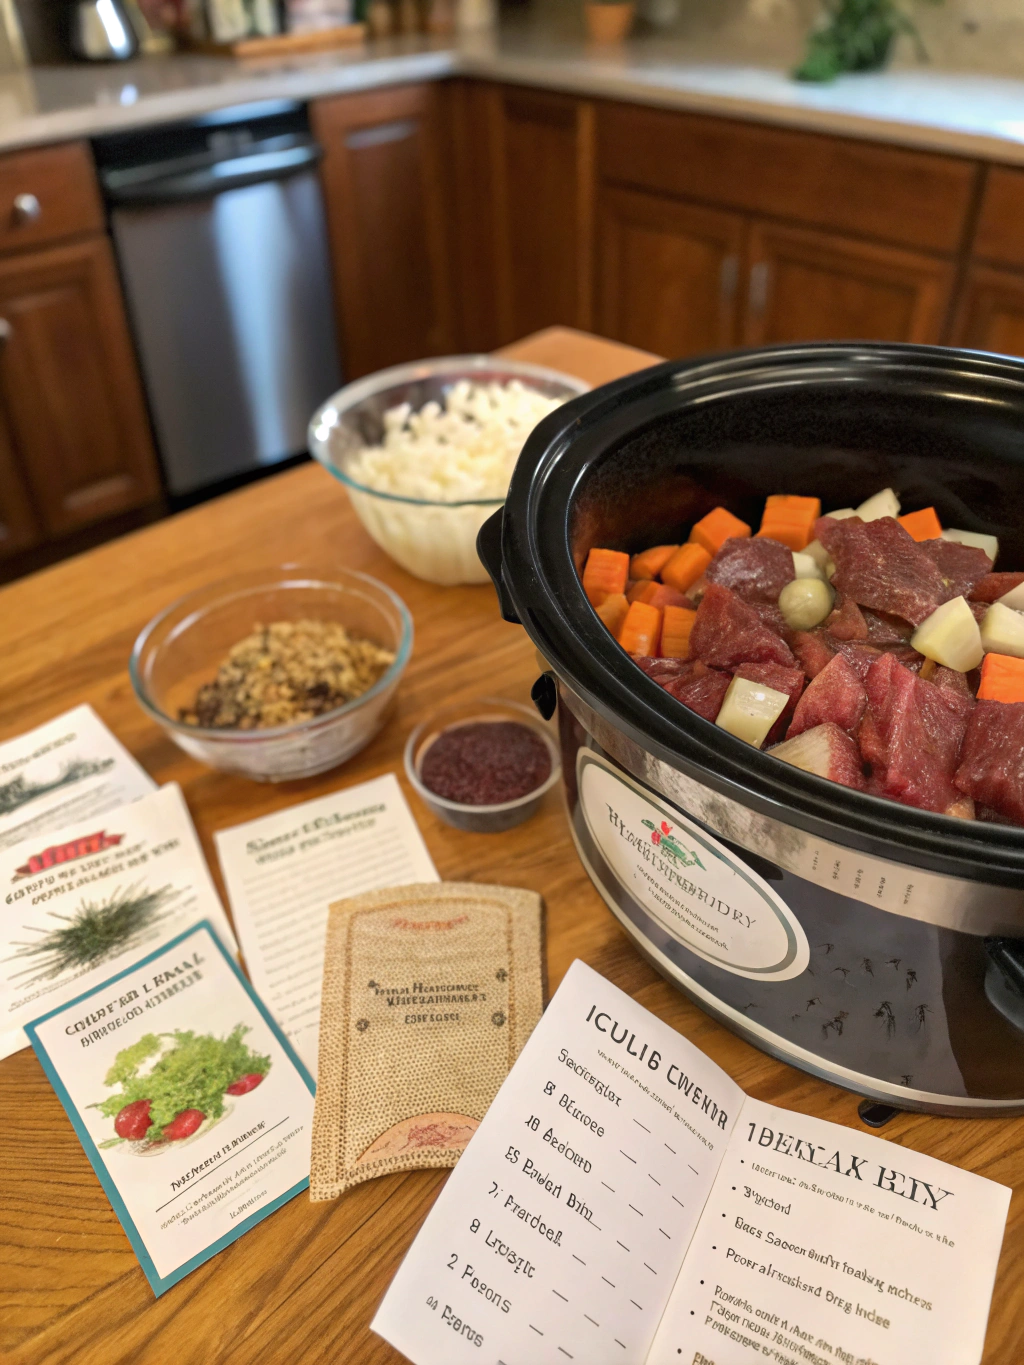
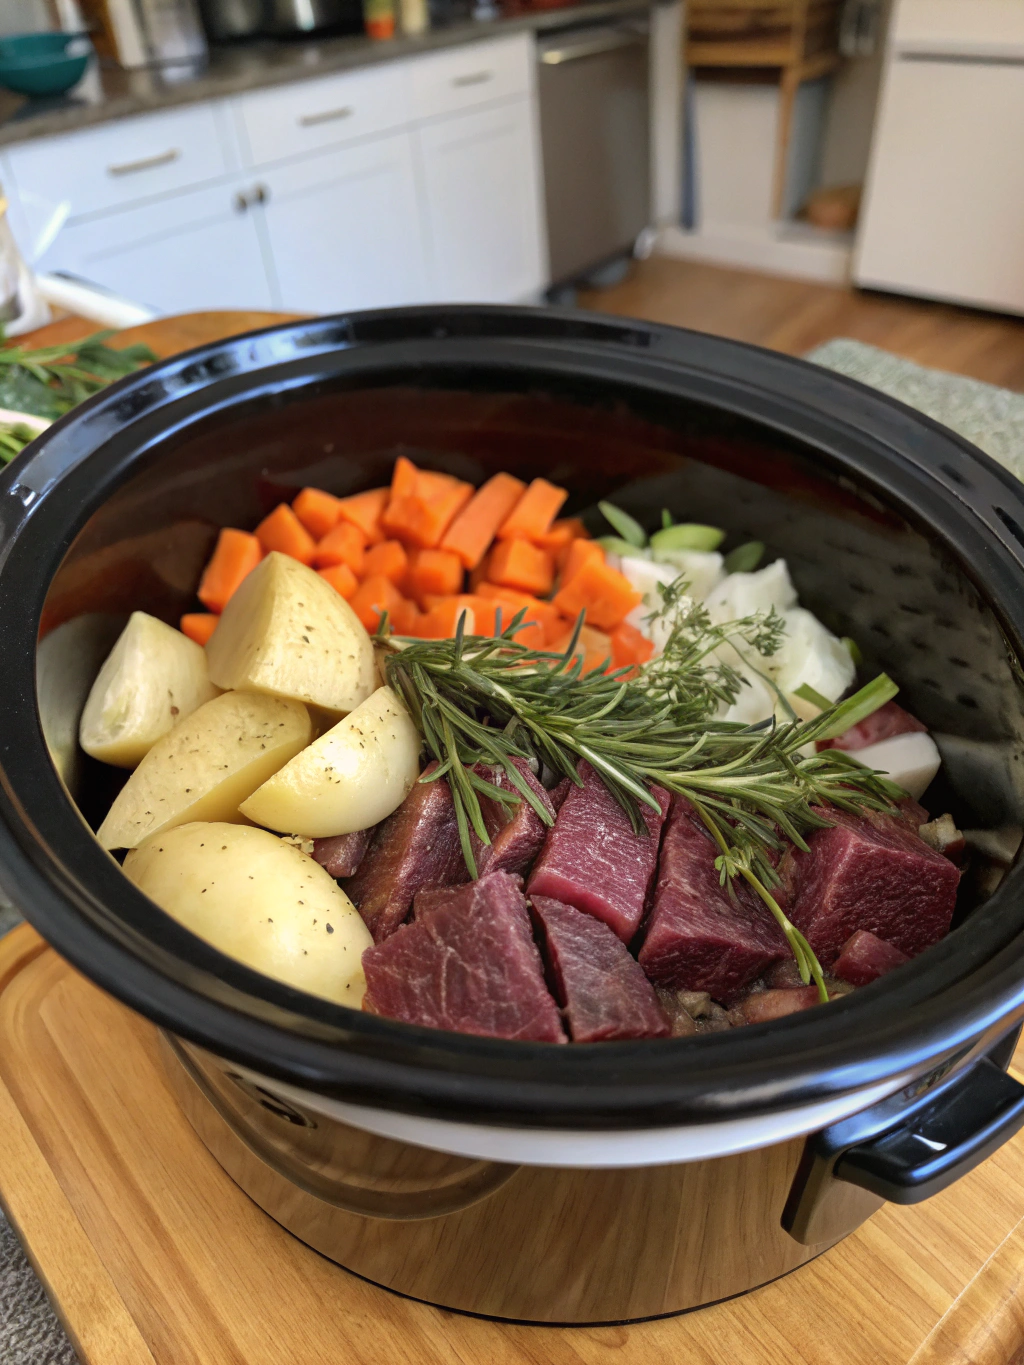
- Layer the Ingredients: In your crockpot, layer half of the onions, followed by the deer meat, garlic, carrots, and potatoes. Top with the remaining onions.
- Combine Liquids: In a separate bowl, mix the broth, diced tomatoes, Worcestershire sauce, thyme, and season with salt and pepper. Pour over the layered ingredients in the crockpot.
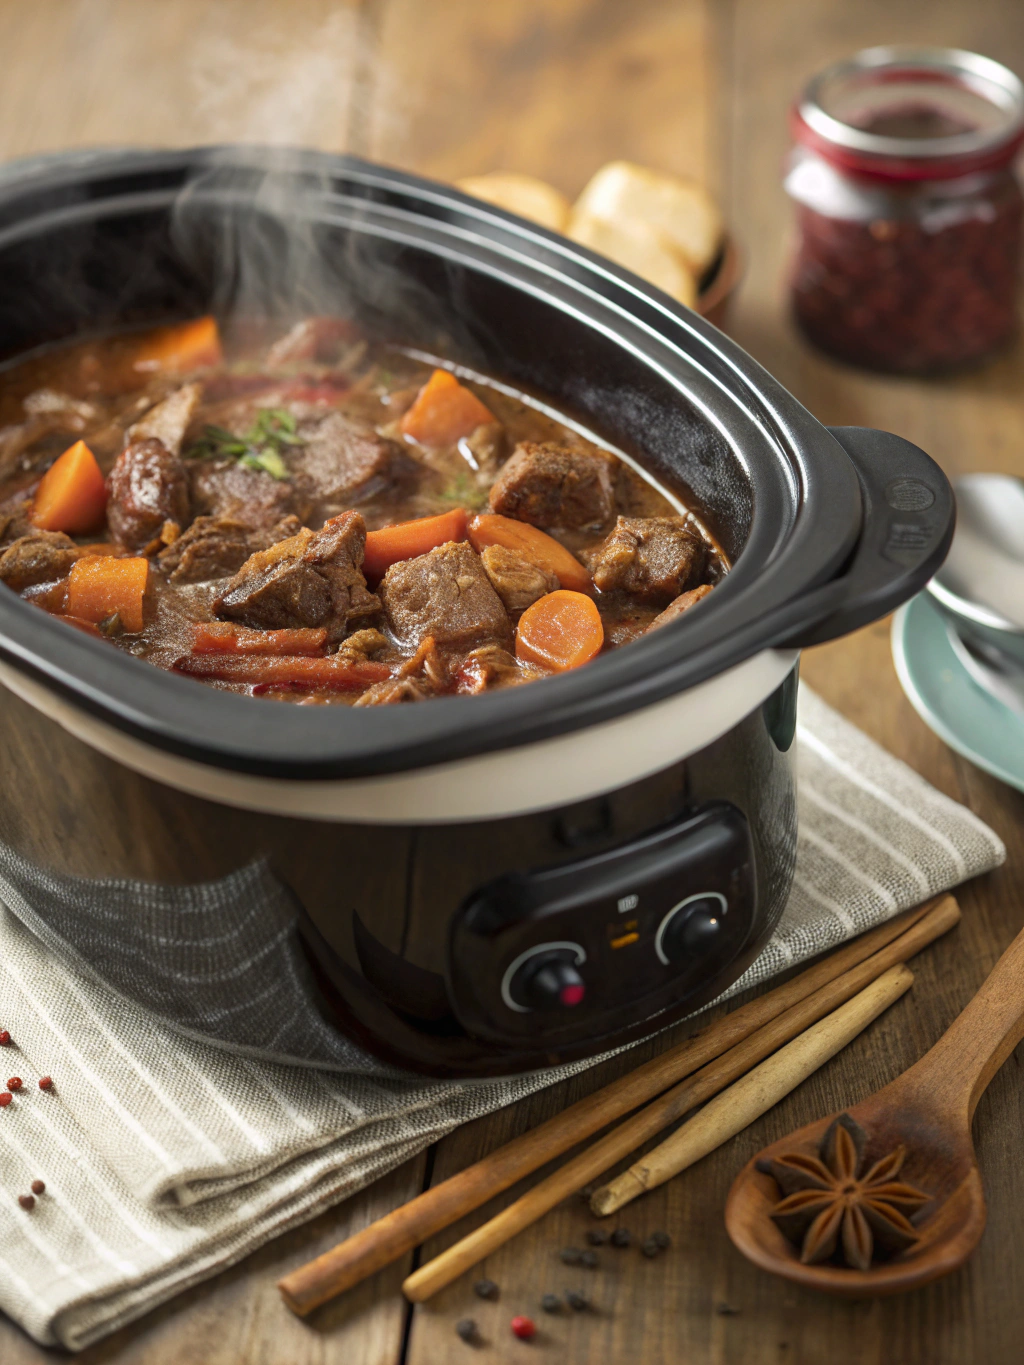
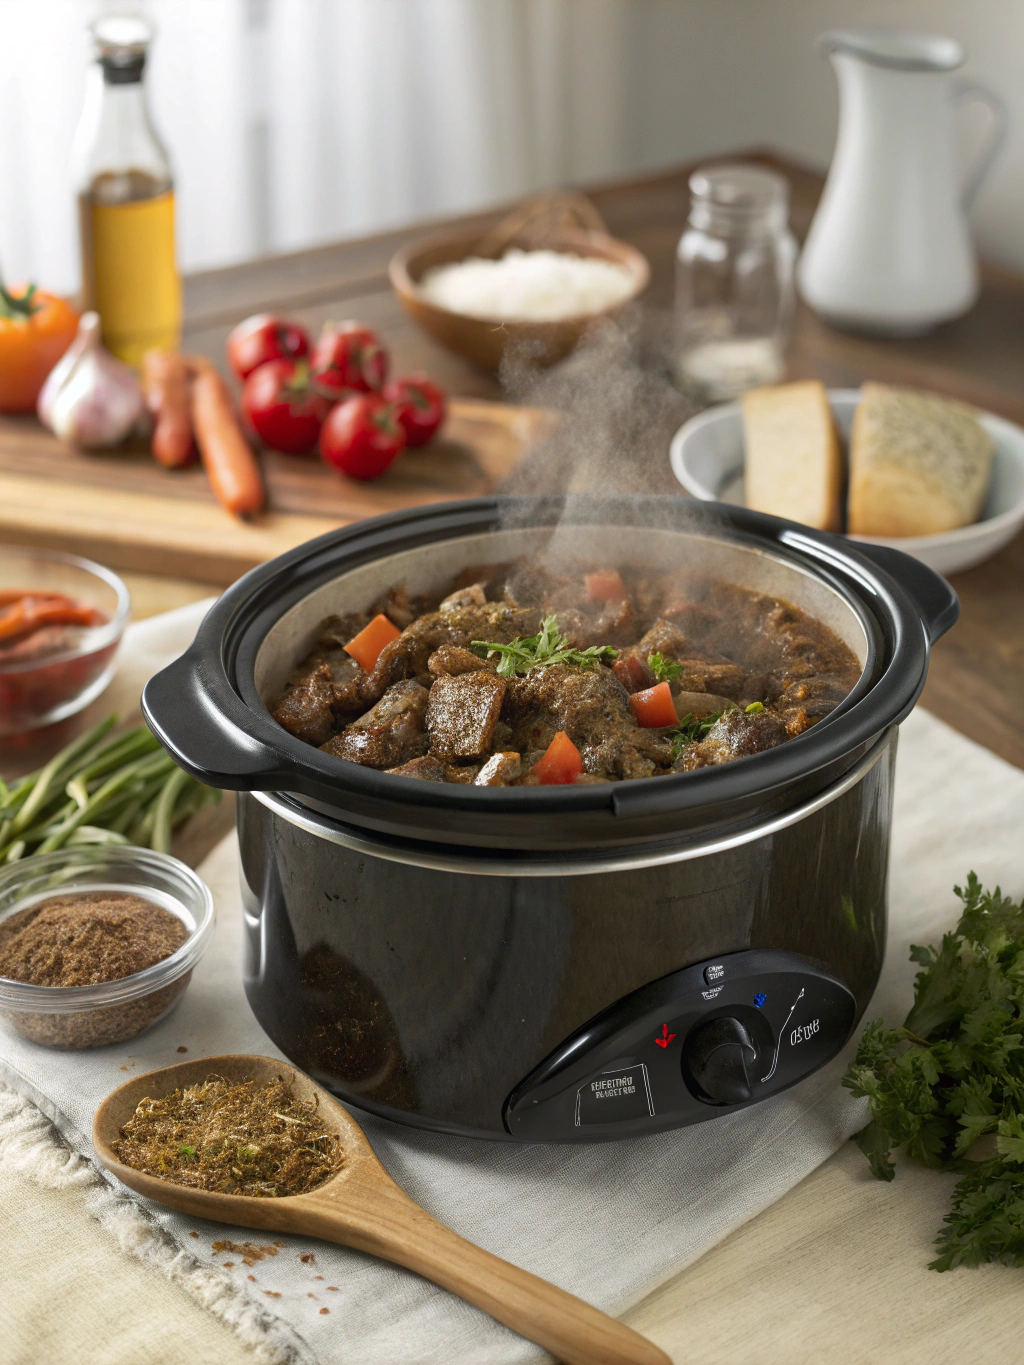
- Cook: Cover and set the crockpot to low for 6-8 hours. The longer it cooks, the more tender the meat will become!
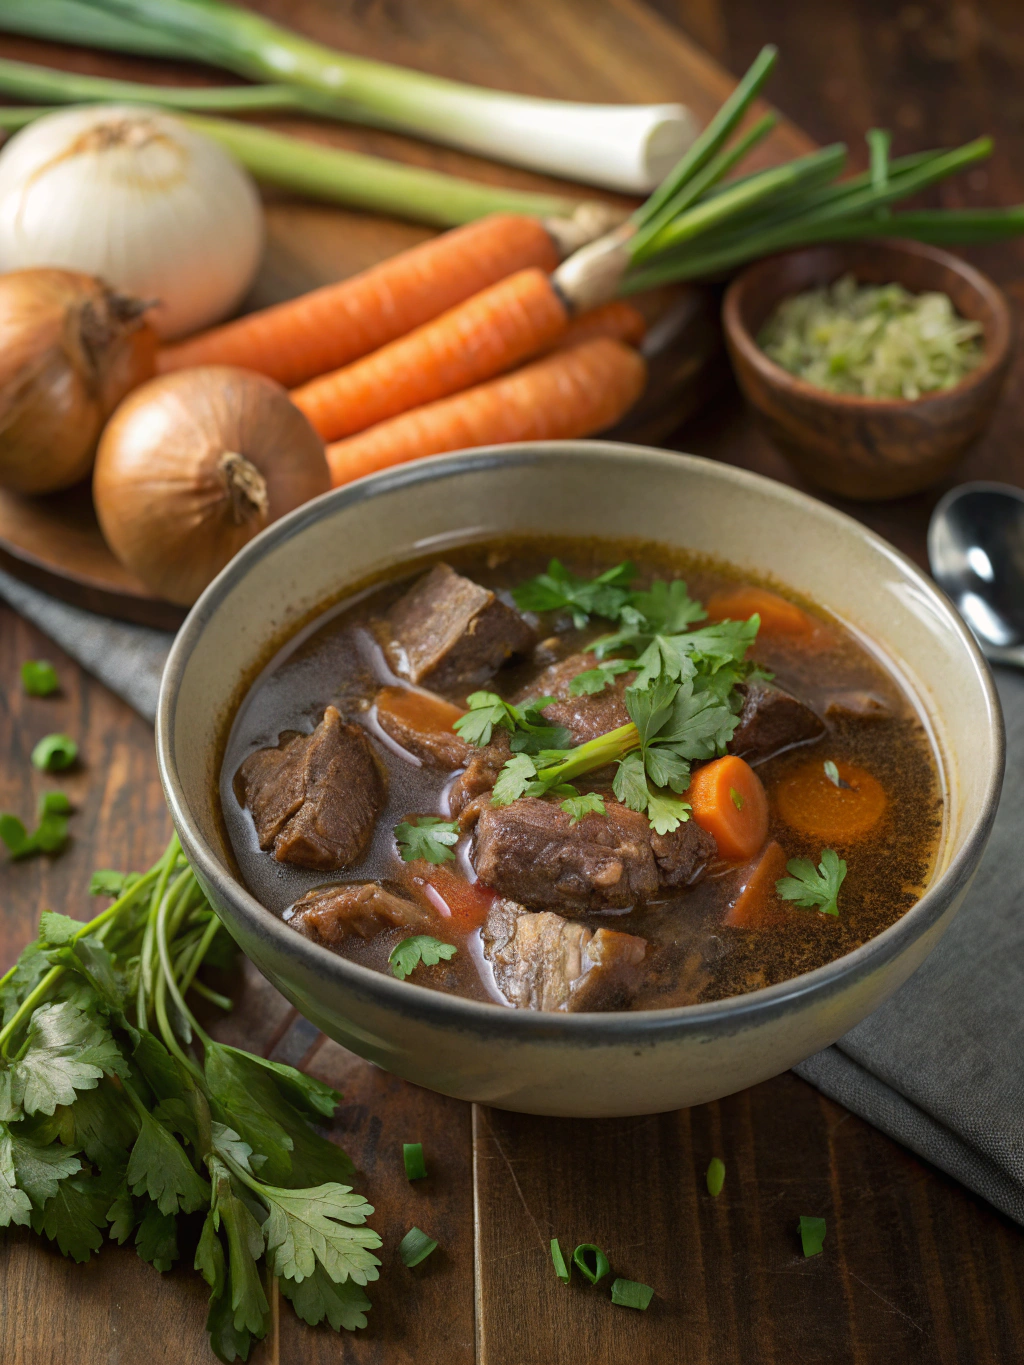
- Serve: Once the cooking time is up, stir and serve your stew warm, garnished with fresh herbs if desired.
Nutritional Information
Each serving of Venison Stew (approximately 1 cup) contains:
- Calories: 300
- Protein: 40g
- Fat: 10g
- Carbohydrates: 25g
- Fiber: 4g
Deer meat is leaner than beef, offering a healthier alternative that’s still high in protein. It is also rich in vitamins B6 and B12, iron, and zinc—essential for maintaining health and well-being.
Healthier Alternatives for the Recipe
Looking to make the recipes even healthier? Consider these swaps:
- Substitute traditional potatoes with sweet potatoes for added fiber and vitamins.
- Use low-sodium broth to reduce sodium intake.
- Add more leafy greens or vegetables like spinach or zucchini to boost nutrient density without adding many calories.
Serving Suggestions
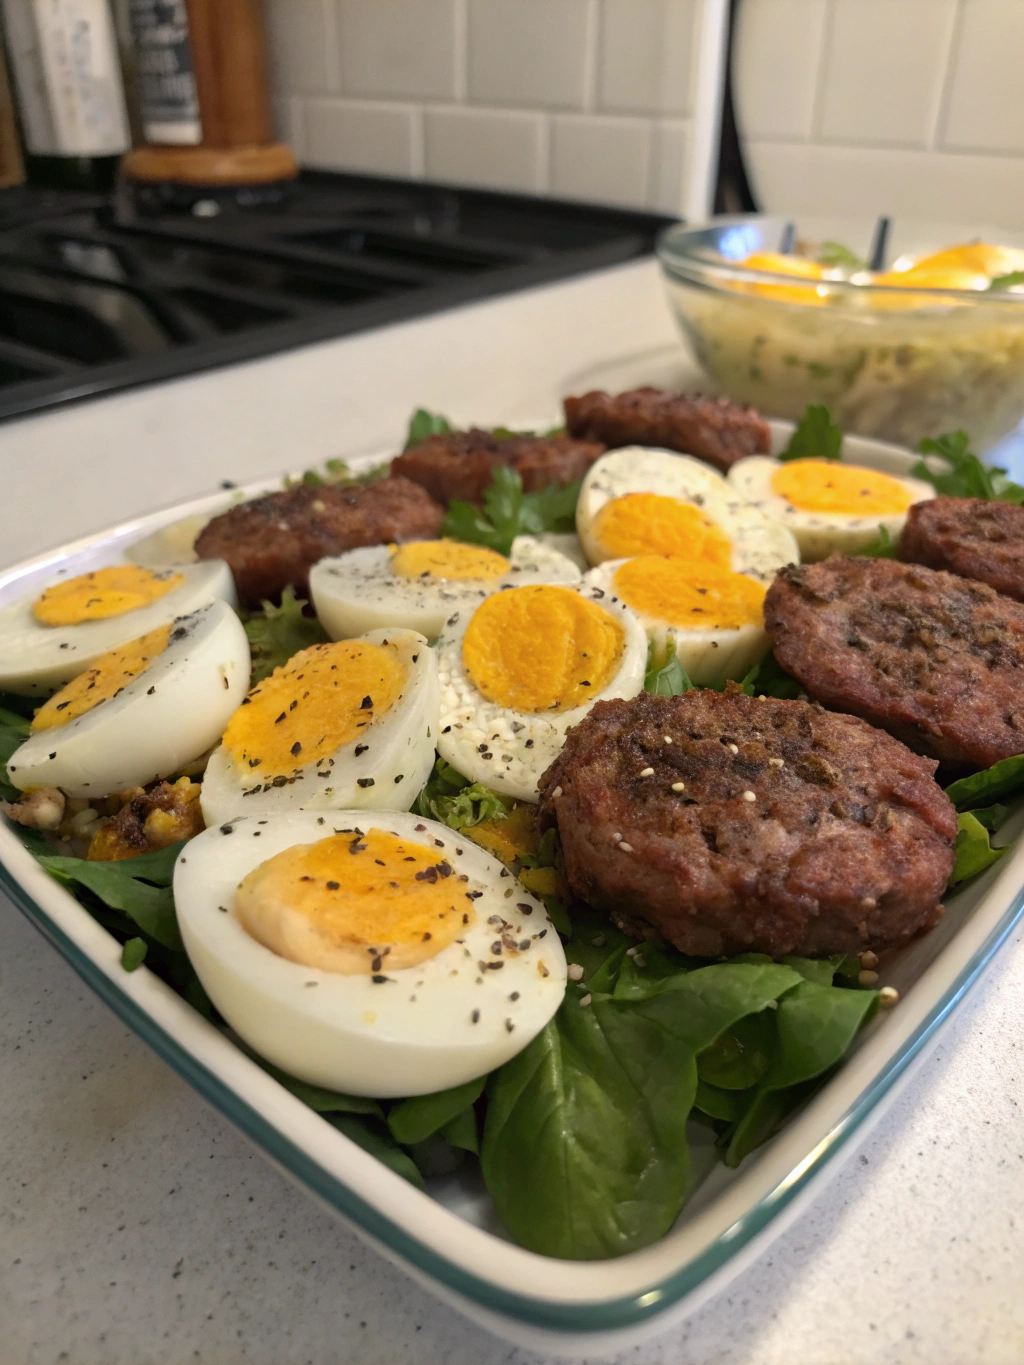
Serve your Venison Stew with a side of crusty whole-grain bread for dipping or over a bed of quinoa for added texture. A simple green salad dressed with a vinaigrette also complements the richness of the dish beautifully.
Common Mistakes to Avoid
- Not browning the meat: While it’s not necessary, browning the venison chunks beforehand adds depth of flavor.
- Overcrowding the crockpot: Ensure there’s enough space for steam to circulate; too much food can result in uneven cooking.
- Neglecting to season appropriately: Deer meat has a unique flavor that can benefit from bold seasonings. Don’t skimp on salt and pepper!
Storing Tips for the Recipe
Leftover stew can be stored in an airtight container in the fridge for up to 3 days. For longer storage, freeze portions in individual containers, allowing you to enjoy warm, stewed meals straight from the freezer. Simply thaw overnight in the fridge and reheat on the stove or in the microwave.
Conclusion
As you venture into the world of crockpot cooking with deer meat, remember these key points: choose quality ingredients, don’t rush the cooking process, and customize the recipes to fit your personal tastes. Now it’s your turn to try out these mouthwatering crockpot recipes! Share your experiences and modifications in the comments below, or explore our other delicious recipes to discover more culinary delights. Happy cooking!
FAQs
Q: Can I use other types of meat in these recipes?
A: Absolutely! While these recipes are tailored for deer meat, substituting with beef, pork, or even chicken can yield delicious results.
Q: How do I ensure my deer meat stays tender during cooking?
A: Cooking on low heat for an extended period (6-8 hours) helps break down the fibers in the meat, ensuring tenderness.
Q: What other seasonings go well with deer meat?
A: Besides thyme and Worcestershire sauce, consider using rosemary, juniper berries, or a blend of paprika and cumin for added flavor dimension.
Q: Can I make these recipes in a pressure cooker?
A: Yes! Most recipes can be adapted for pressure cooking. Just remember to reduce the cooking time significantly, generally around 1-2 hours on high pressure.
Try these savory crockpot recipes, and celebrate the flavors of home cooking with deer meat today!