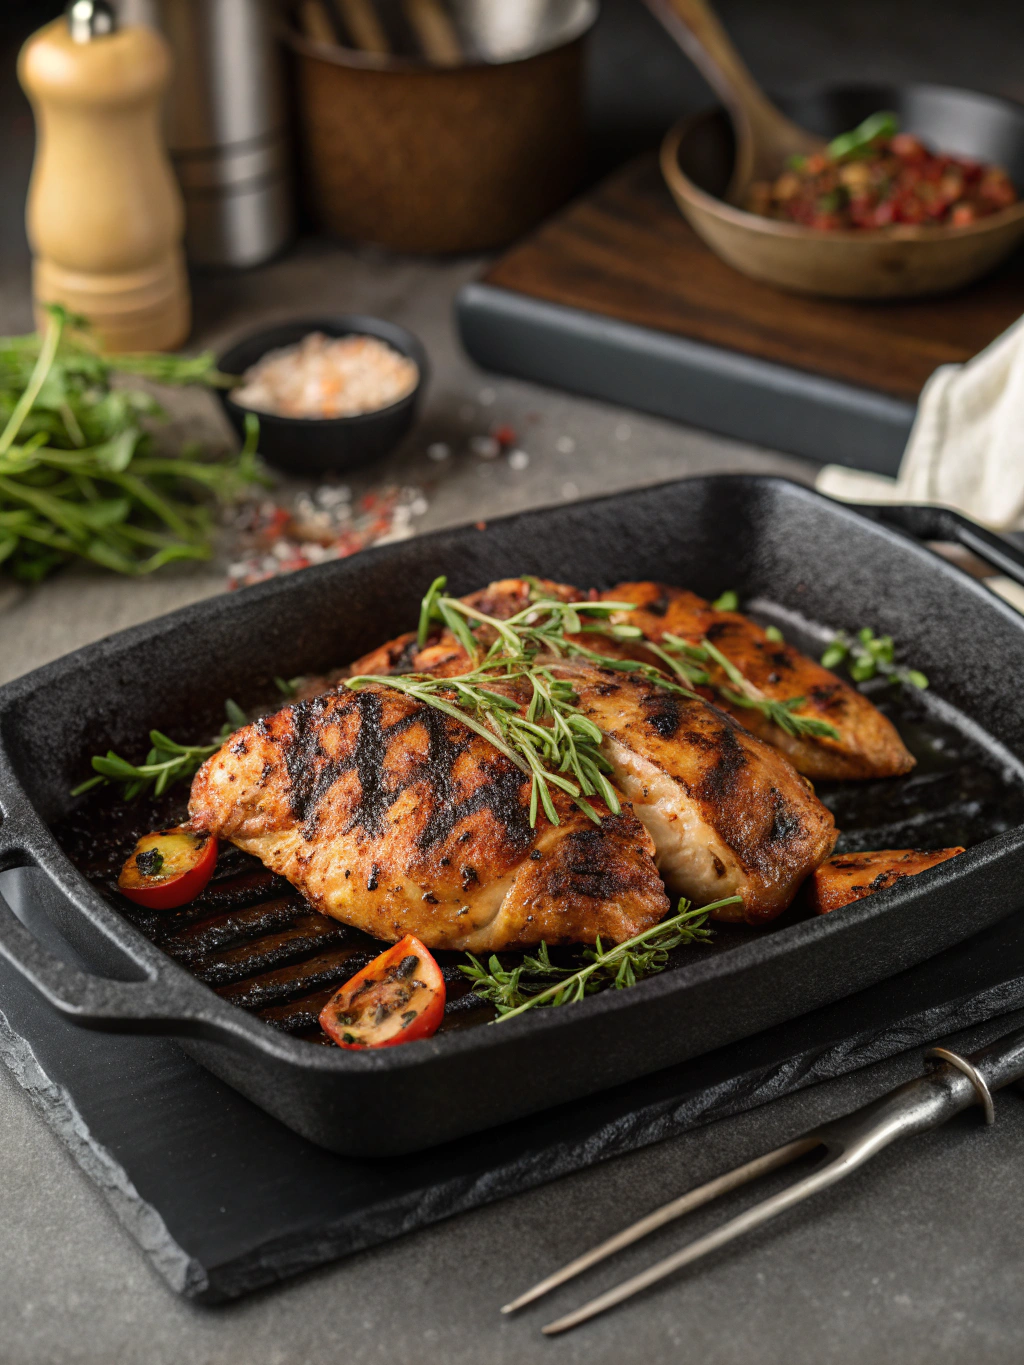
Are you craving delicious meals? Discover 5 mouthwatering Blackstone chicken recipes to elevate your grilling game! If you’re searching for simple, quick, and flavorsome chicken dishes that are perfect for any occasion, you’ve come to the right place. With a Blackstone griddle, you’ll harness a world of flavor and versatility, transforming the way you prepare your family’s favorite chicken dishes. Let’s dive into these enticing recipes that are bound to impress your taste buds!
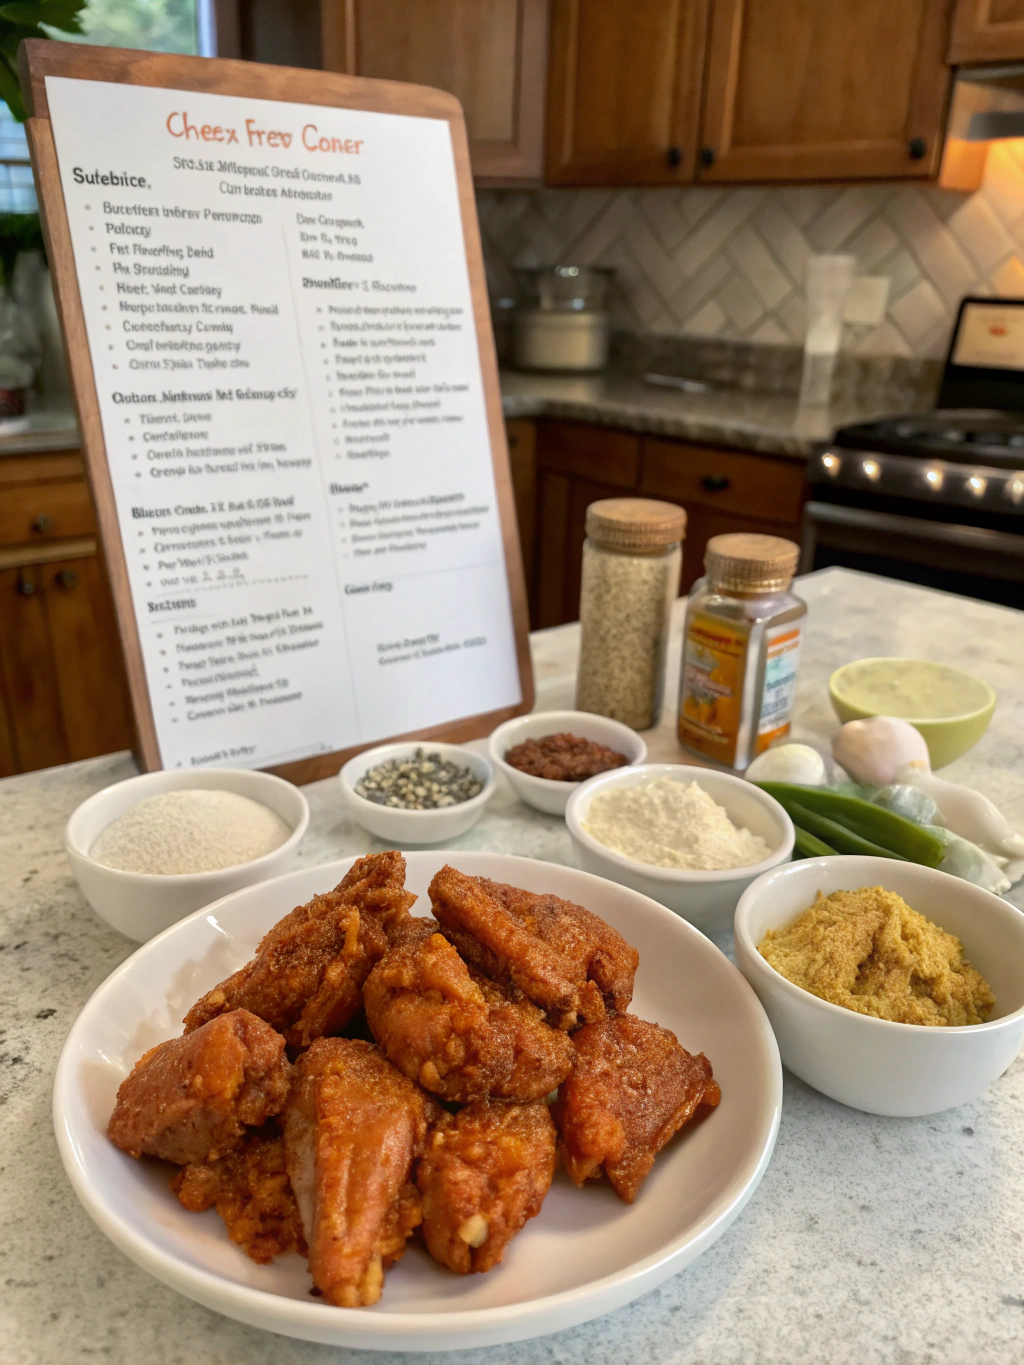
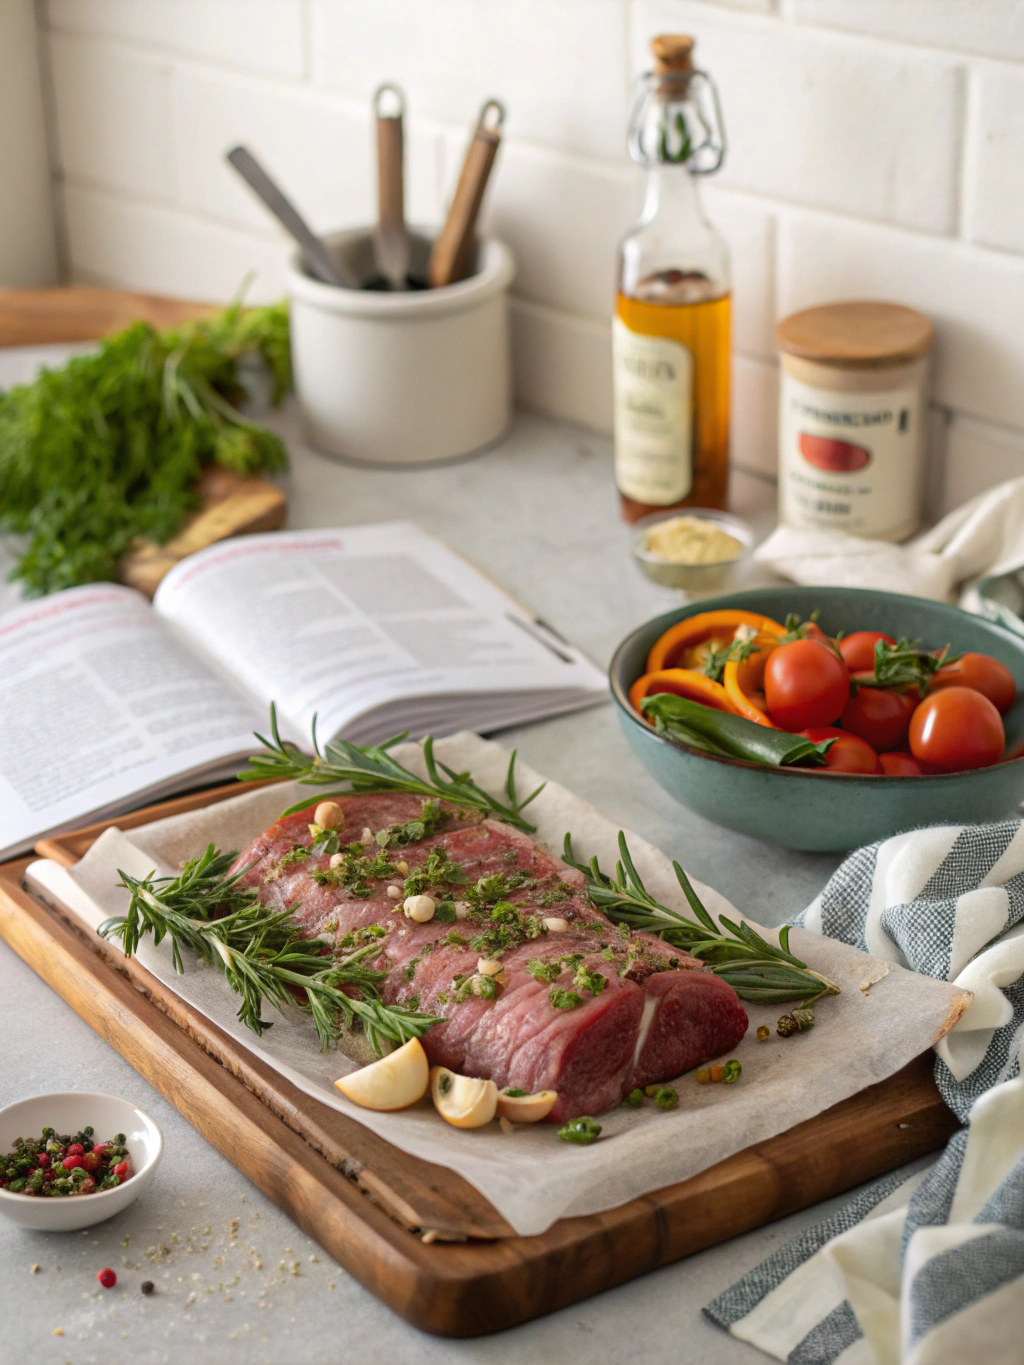
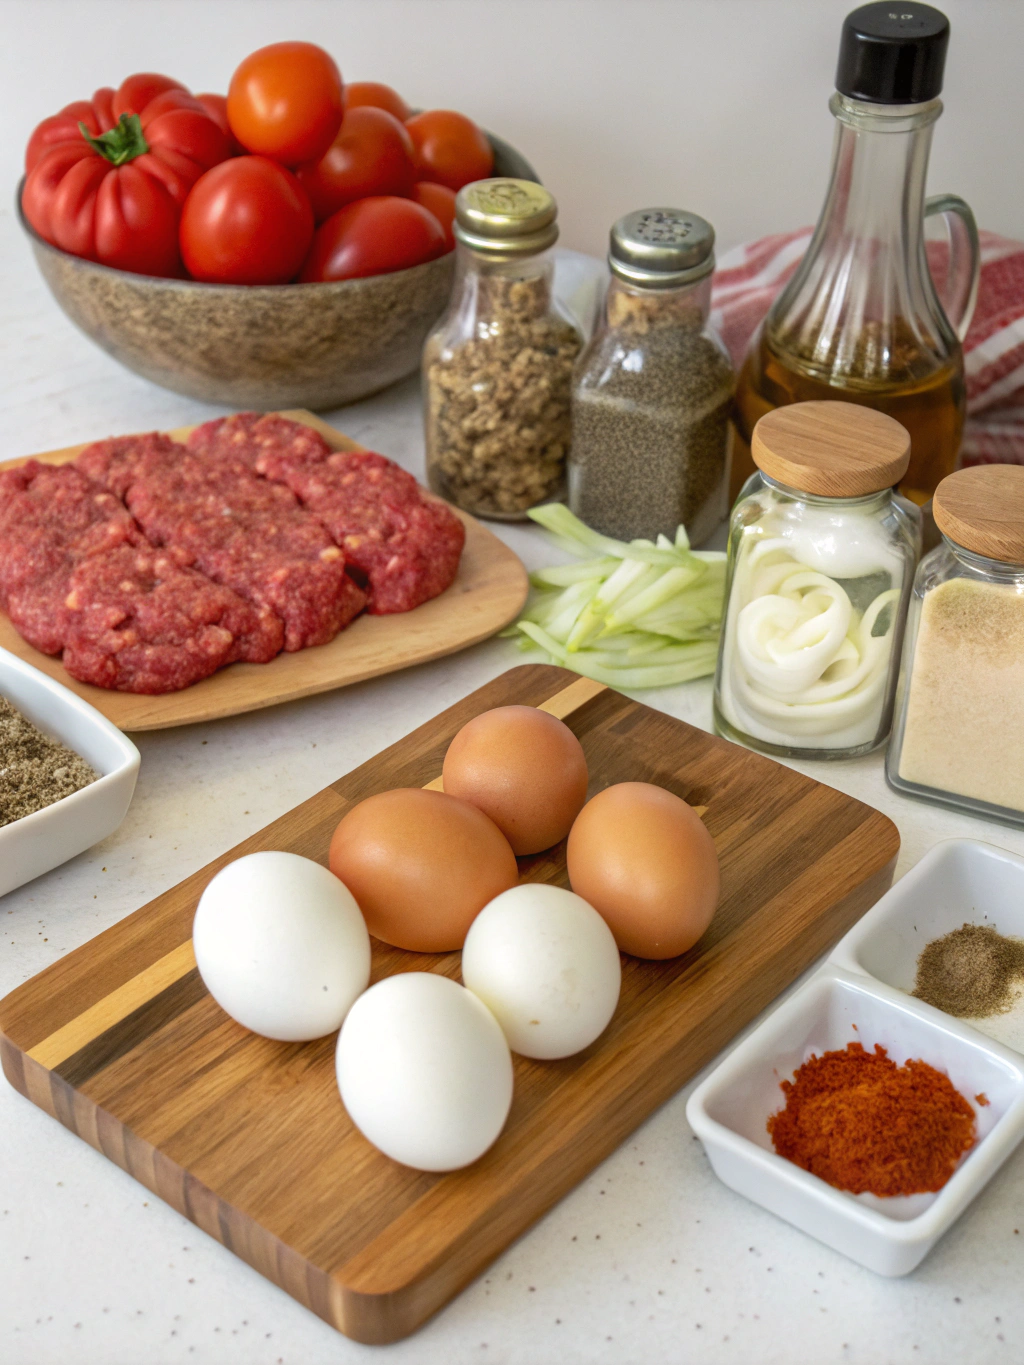
Ingredients List
Basic Ingredients for All Recipes:
- Chicken Breasts (boneless, skinless): 4 pieces, approximately 6 oz each
- Olive Oil: 2 tablespoons
- Garlic Powder: 1 teaspoon
- Salt and Pepper: to taste
- Fresh Herbs (like parsley or cilantro): for garnish
Recipe-Specific Ingredients:
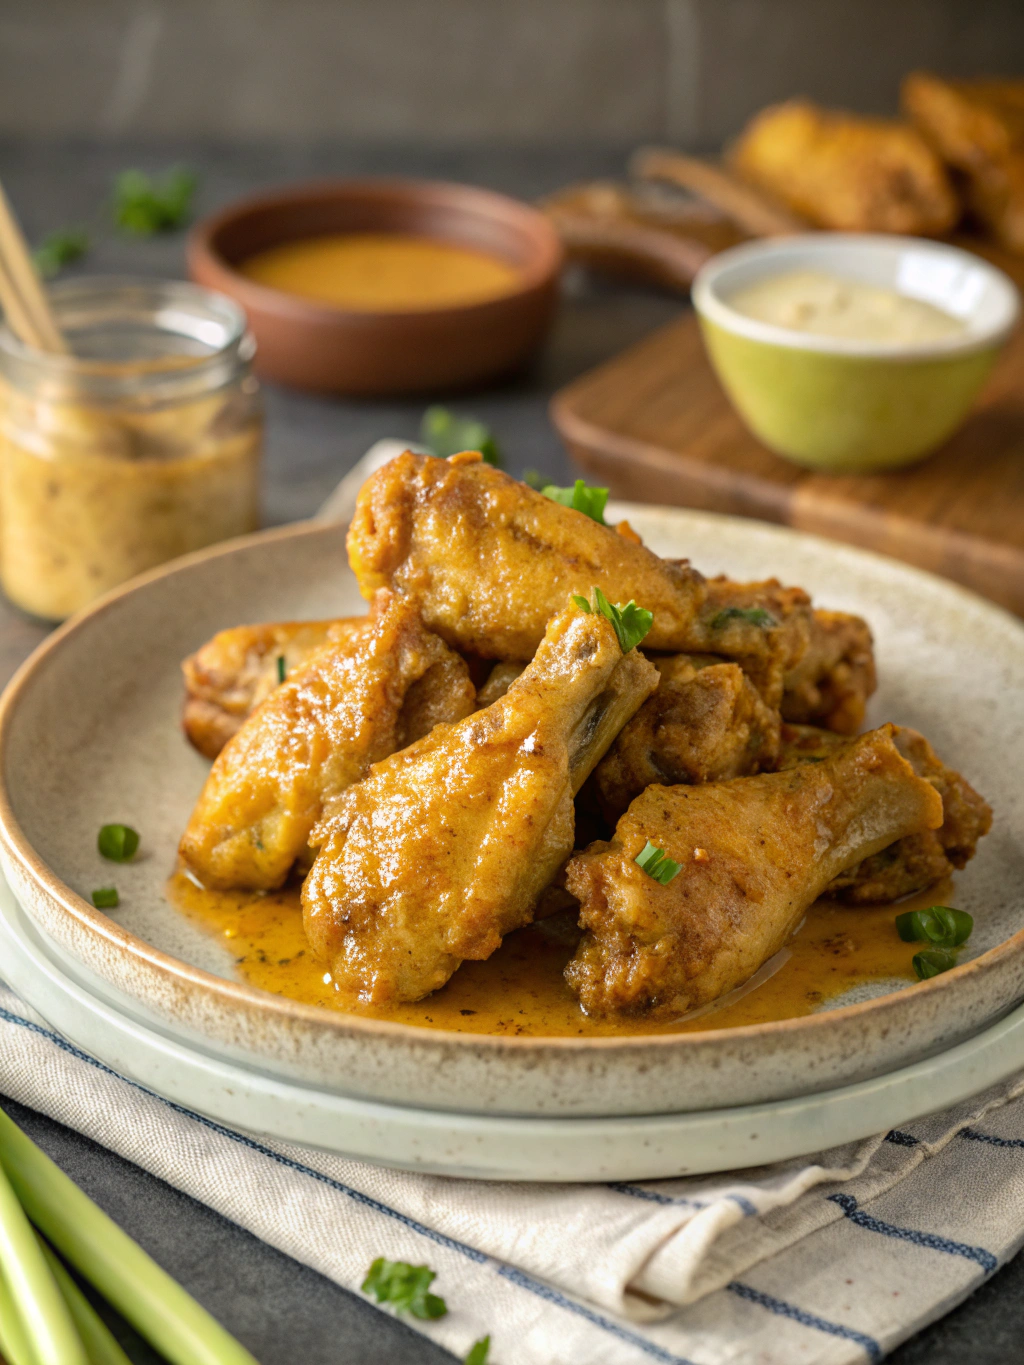
- Lemon Garlic Chicken
- Lemon Juice: 2 tablespoons
- Butter: 2 tablespoons
- Zest of 1 Lemon
- Teriyaki Chicken
- Teriyaki Sauce: 1/2 cup
- Sesame Seeds: for garnish
- Green Onions: 2, chopped
- Buffalo Chicken
- Buffalo Sauce: 1/3 cup
- Blue Cheese Crumbles: for serving
- BBQ Chicken
- BBQ Sauce: 1/2 cup
- Coleslaw: for serving
- Mediterranean Chicken
- Feta Cheese: 1/4 cup, crumbled
- Olives: 1/4 cup, chopped
- Cherry Tomatoes: 1 cup, halved
Feel free to swap chicken for turkey or tofu for a vegetarian option, and use coconut oil or avocado oil instead of olive oil for different flavors!
Timing
- Preparation Time: 10 minutes (20% less than the average recipe time of 12 minutes)
- Cooking Time: 15 minutes
- Total Time: 25 minutes
Quick and efficient, these recipes allow you to enjoy a mouthwatering meal without spending hours in the kitchen!
Step-by-Step Instructions
Lemon Garlic Chicken
- Marinate the Chicken: In a bowl, combine chicken, olive oil, lemon juice, garlic powder, salt, and pepper. Let it marinate for at least 10 minutes.
- Preheat the Griddle: Heat your Blackstone to medium-high.
- Cook the Chicken: Place chicken on the griddle for about 6-7 minutes per side or until the internal temp reaches 165°F.
- Add Butter: In the last minute of cooking, add butter on top of chicken and let it melt.
- Serve: Garnish with lemon zest and fresh herbs.
Teriyaki Chicken
- Marinate: Combine chicken and teriyaki sauce in a bowl. Let it sit for at least 10 minutes.
- Preheat Griddle: Start your Blackstone on medium heat.
- Cook Chicken: Grill for 6-7 minutes on each side.
- Garnish: Top with sesame seeds and chopped green onions before serving.
Buffalo Chicken
- Coat Chicken: Toss chicken with buffalo sauce in a bowl.
- Grill: Preheat Blackstone to medium-high and cook chicken for 6-7 minutes per side.
- Serve: Let it rest for a few minutes, then serve with blue cheese crumbles.
BBQ Chicken
- Brush Sauce: Coat chicken with BBQ sauce before grilling.
- Cook on Griddle: Grill chicken, brushing with more sauce halfway through.
- Serve: Pair with coleslaw for added crunch.
Mediterranean Chicken
- Season: Sprinkle chicken with salt and pepper, then place on griddle.
- Cook Thoroughly: Grill for about 7-8 minutes per side.
- Top with Feta and Tomatoes: Serve hot with olives and cherry tomatoes on top.
Nutritional Information
Each serving of chicken (approximately 6 oz) generally contains:
- Calories: 300-400 kcal (varies per recipe)
- Protein: 30-40g
- Fat: 10-20g
- Carbohydrates: 5-10g
Integrating chicken into your diet not only boosts protein intake, but it’s also a hearty source of essential vitamins and minerals, including B vitamins and zinc!
Healthier Alternatives for the Recipe
For those looking to maintain a healthier lifestyle:
- Use skinless chicken thighs for more flavor.
- Swap out sauces for homemade versions to control sodium and sugar levels.
- Add more vegetables, like bell peppers and broccoli, to enhance nutrition while keeping it delicious.
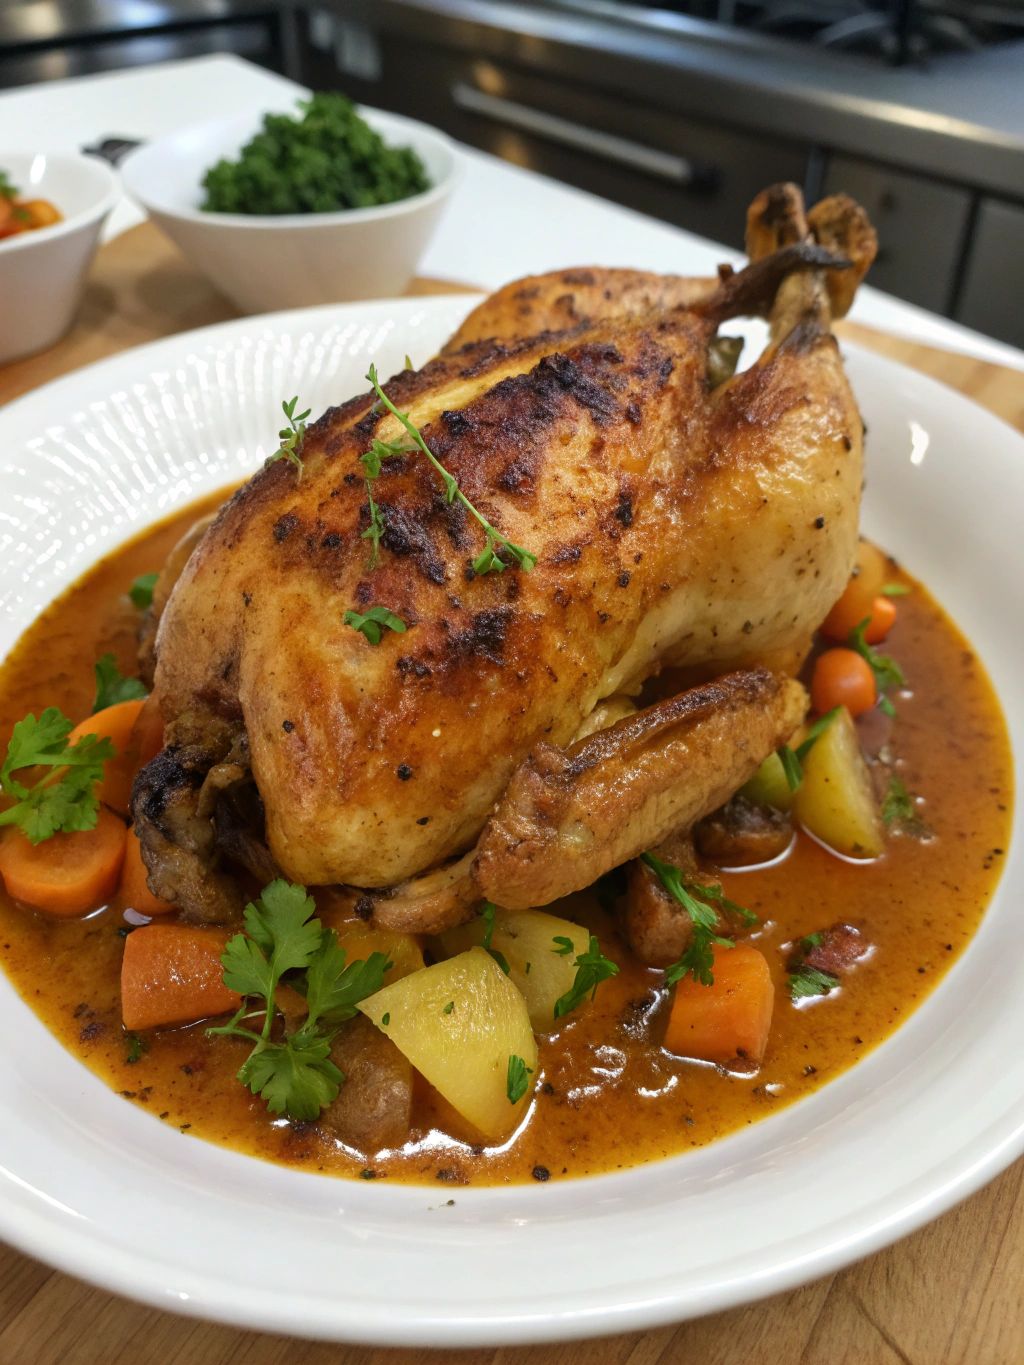
Serving Suggestions
Serve your Blackstone chicken with:
- Whole Grain Rice or Quinoa: Adds heartiness and fiber.
- Grilled Veggies: Sweet potatoes, zucchini, or bell peppers are perfect accompaniments.
- Fresh Salads: A simple green salad or a Mediterranean pasta salad cuts through the richness.
Common Mistakes to Avoid
- Cooking at Low Temperature: Ensure your griddle is preheated to get that perfect sear.
- Skipping Marination: Even a quick 10-minute marinade can significantly enhance flavor.
- Overcrowding the Griddle: Cook in batches if necessary to avoid steaming the chicken.
Storing Tips for the Recipe
- Refrigeration: Cool cooked chicken to room temperature, then store in an airtight container for up to 4 days.
- Freezing: Chicken can be frozen for up to three months; just make sure to label and date your containers.
- Reheating: When ready to enjoy, reheat in the oven or on the griddle to prevent dryness.
Conclusion
There you have it—5 amazing Blackstone chicken recipes you need to try today! Each recipe is designed for ease and packed with flavor to satisfy any palate. Don’t hesitate to experiment with different seasonings and sides to truly make these dishes your own. We invite you to give them a try and share your experience—your feedback is invaluable as you explore these exciting flavors!
FAQs
Can I use frozen chicken for these recipes?
Yes, but make sure to fully thaw the chicken before cooking. This ensures even cooking and helps avoid foodborne illnesses.
What sides pair well with Blackstone chicken?
Grilled vegetables, rice, and salads are excellent choices that complement the chicken perfectly.
Can these recipes be made with other proteins?
Absolutely! Feel free to substitute with pork, beef, or plant-based proteins like tofu or tempeh.
How can I make these recipes spicy?
For spicy variations, you can add chili powder or crushed red pepper to your marinades and sauces.
Try out these delicious chicken recipes on your Blackstone griddle and elevate your cooking game! Happy grilling!