
Are you ready to explore mouthwatering Beyond Meat recipes? Discover 7 easy, flavorful dishes that’ll satisfy cravings and make plant-based cooking a breeze! As more people embrace plant-based diets, the demand for delicious, satisfying recipes has never been higher. Did you know that nearly 40% of consumers are shifting toward plant-based eating? This makes it crucial to have go-to options that not only taste great but are also easy to prepare. Let’s dive into some of the best Beyond Meat recipes that will tantalize your taste buds and prove that plant-based doesn’t mean flavor-less!
Ingredients List
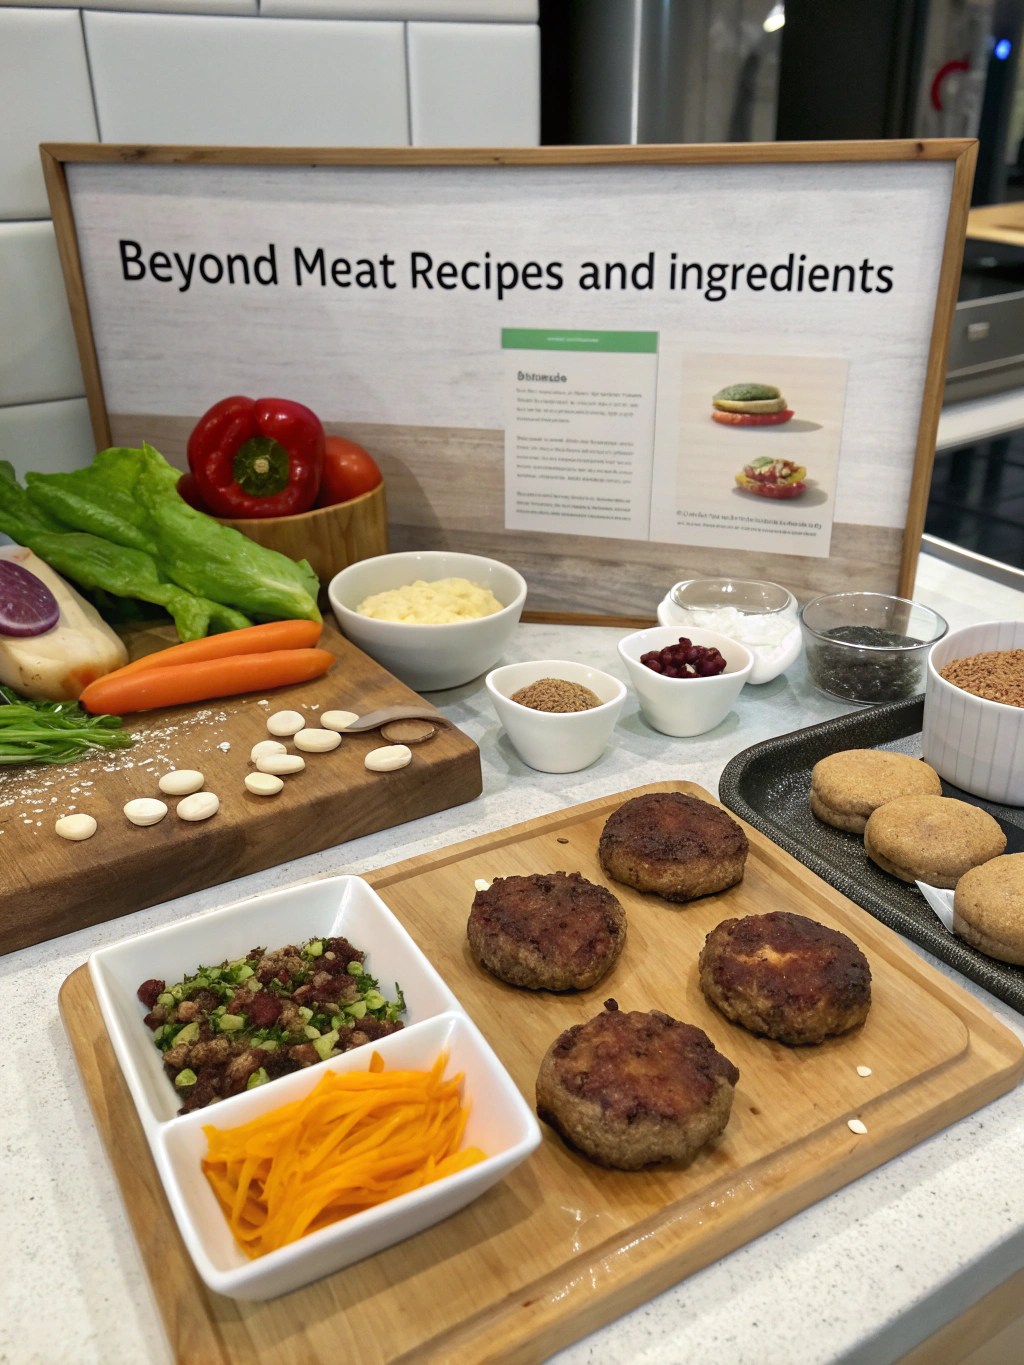
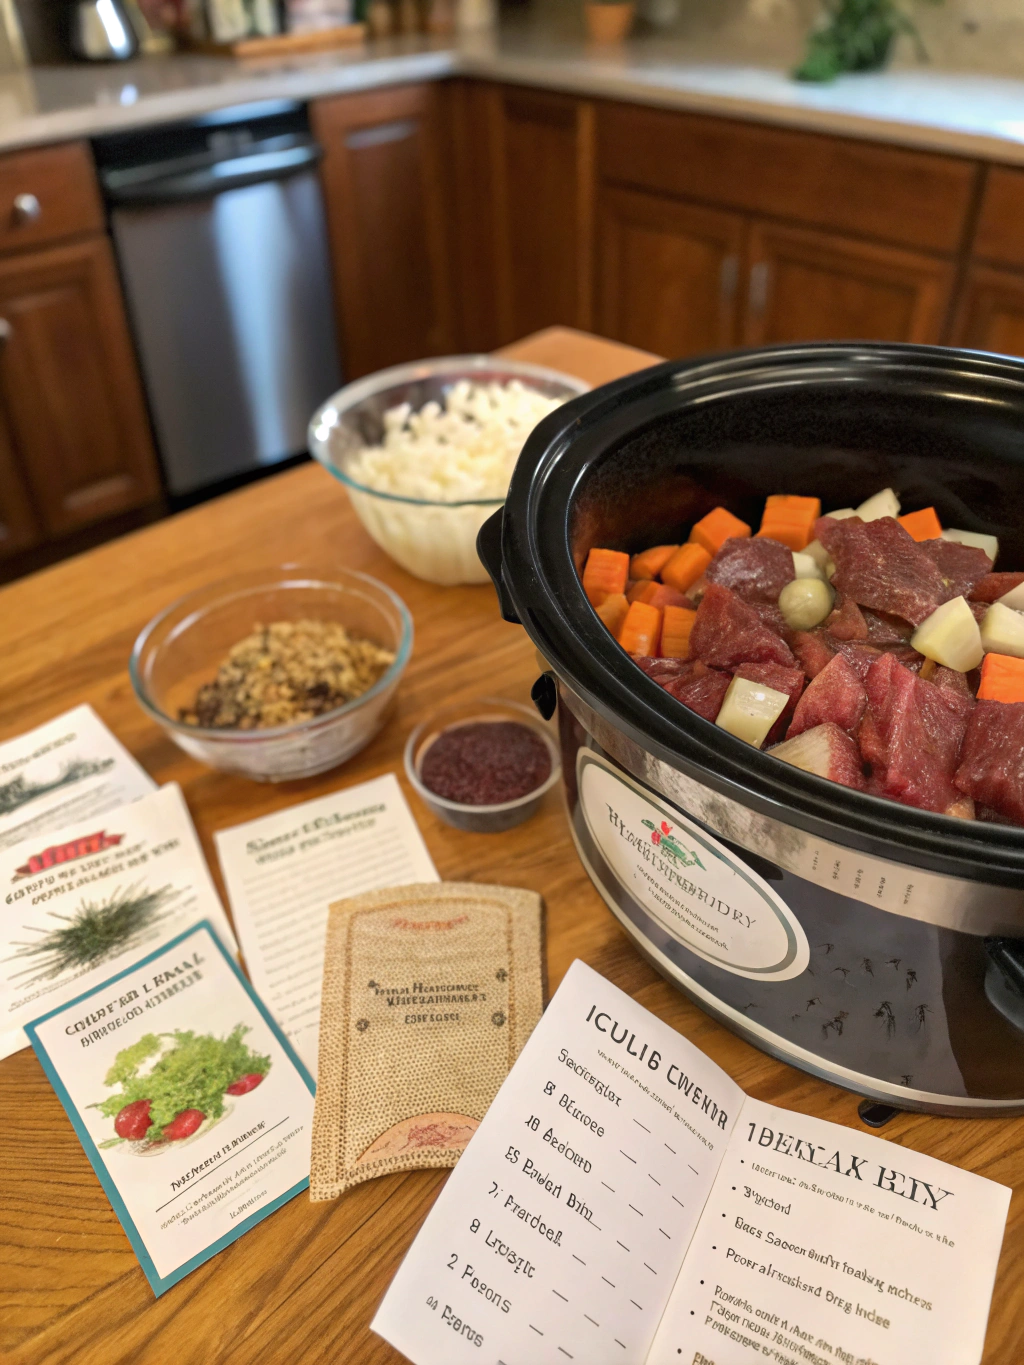
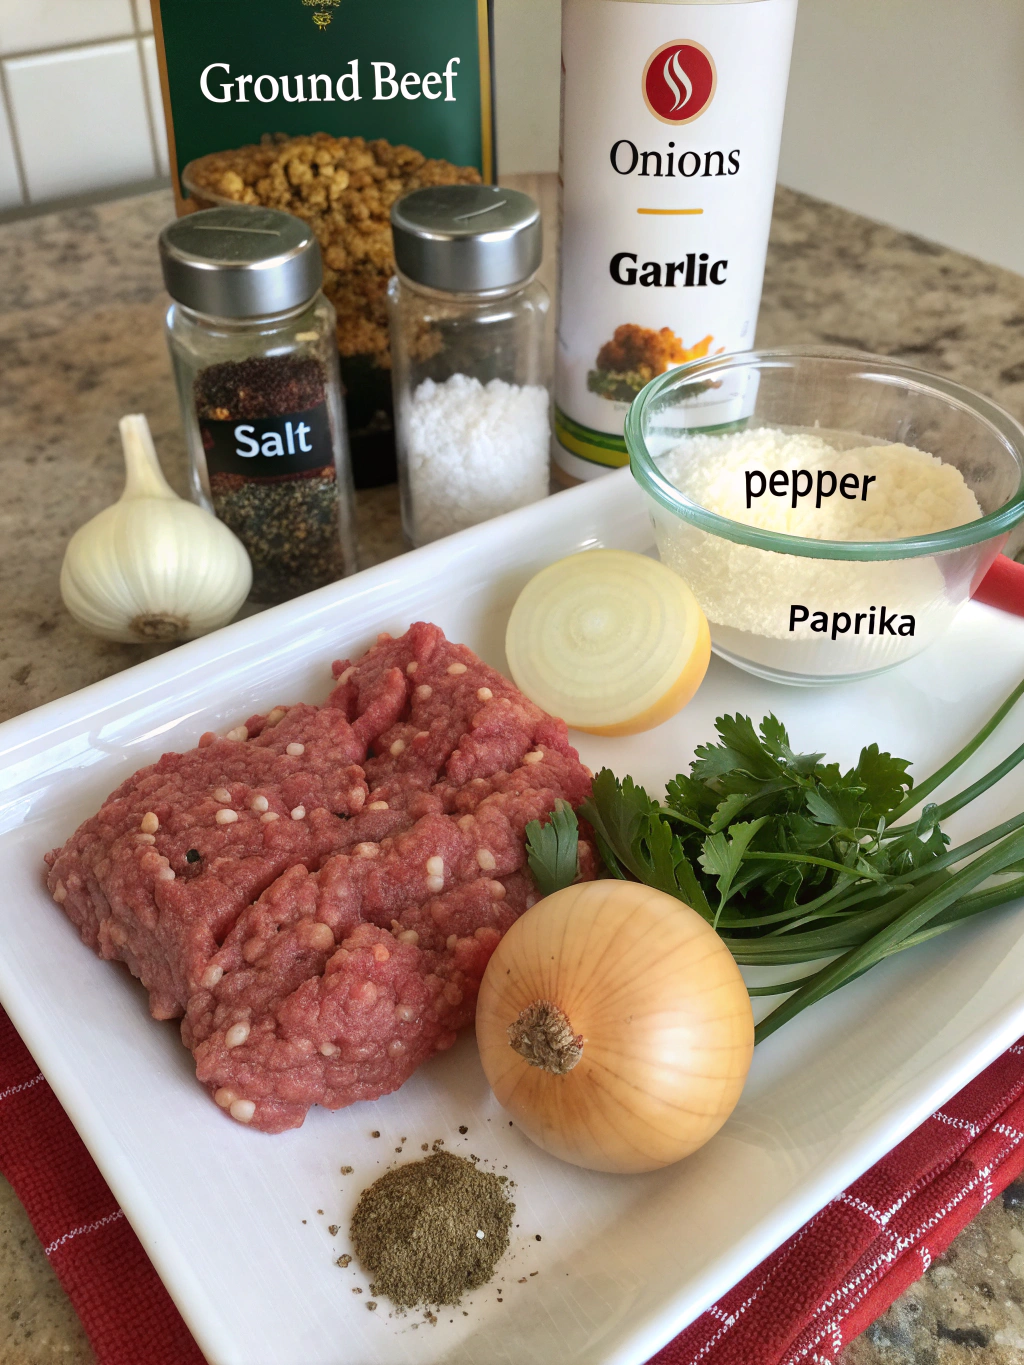
For these delectable dishes, you’ll need the following ingredients:
- Beyond Meat Ground Beef – A perfect plant-based substitute.
- Chopped onions – Adds a sweet, aromatic depth.
- Garlic cloves – For a garlicky punch.
- Bell peppers – Use a mix of colors for a vibrant appeal.
- Canned tomatoes – Adds richness and moisture.
- Spices (cumin, smoked paprika, oregano) – Elevate the flavor profile.
- Vegetable broth – A savory base for stews or sauces.
- Olive oil – For sautéing and adding healthy fats.
- Fresh herbs (basil, cilantro) – For garnish and freshness.
Substitutions: Consider using quinoa instead of rice for a gluten-free option, or switch out bell peppers for zucchini if you prefer.
Timing
- Preparation Time: 15 minutes
- Cooking Time: 30 minutes
- Total Time: 45 minutes
This time commitment is about 20% less than the average recipe for hearty casseroles or stews, making these dishes an efficient choice for a weeknight dinner.
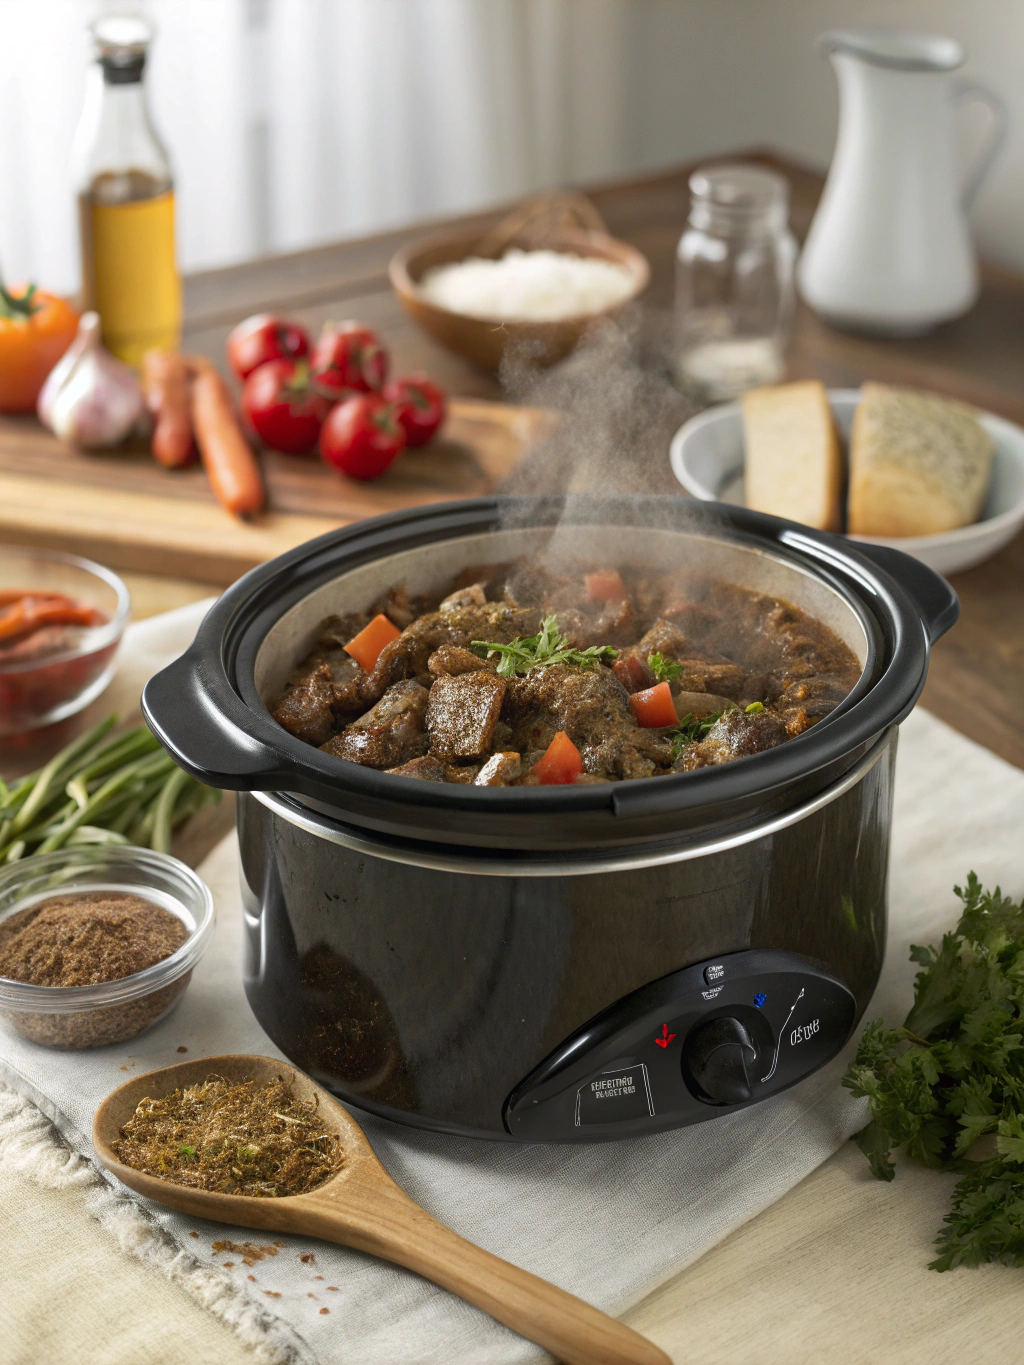
Step-by-Step Instructions
1. Sauté the Aromatics
In a large skillet, heat 2 tablespoons of olive oil over medium heat. Add chopped onions and minced garlic, sautéing for about 3-5 minutes until soft and fragrant.
2. Brown the Beyond Meat
Add the Beyond Meat ground product to the skillet, breaking it apart with a spatula. Cook until browned for about 5-7 minutes.
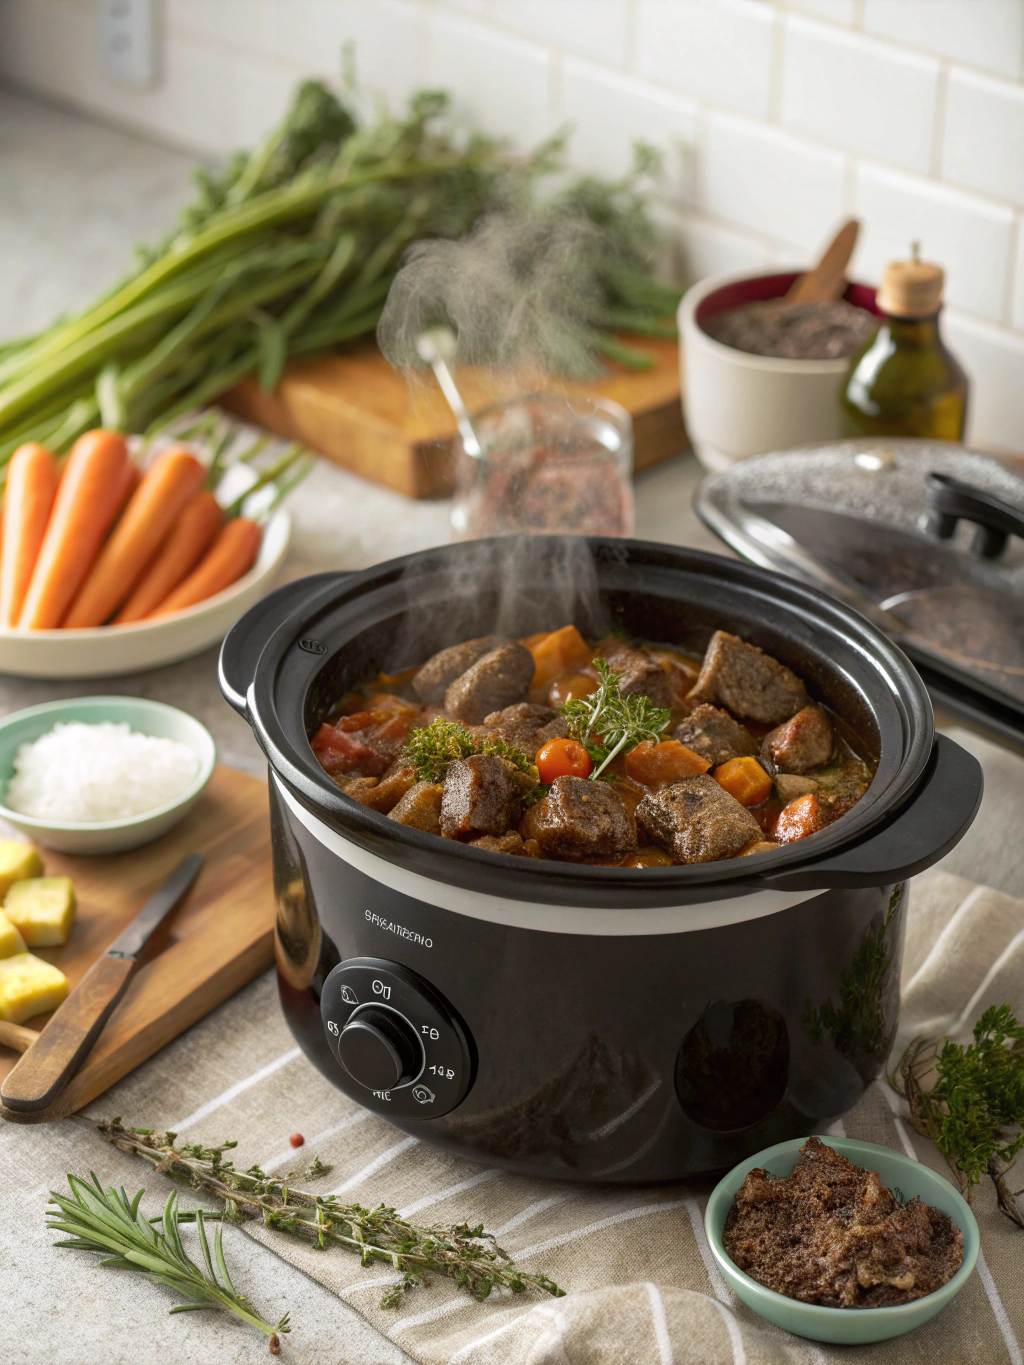
3. Add Vegetables and Spices
Stir in chopped bell peppers, canned tomatoes, and your chosen spices. Mix well and continue to cook for 5 minutes, letting the flavors meld together.
4. Pour in Vegetable Broth
Pour in 1 cup of vegetable broth, allowing everything to simmer for an additional 15-20 minutes. This helps the dish thicken and becomes a savory delight.
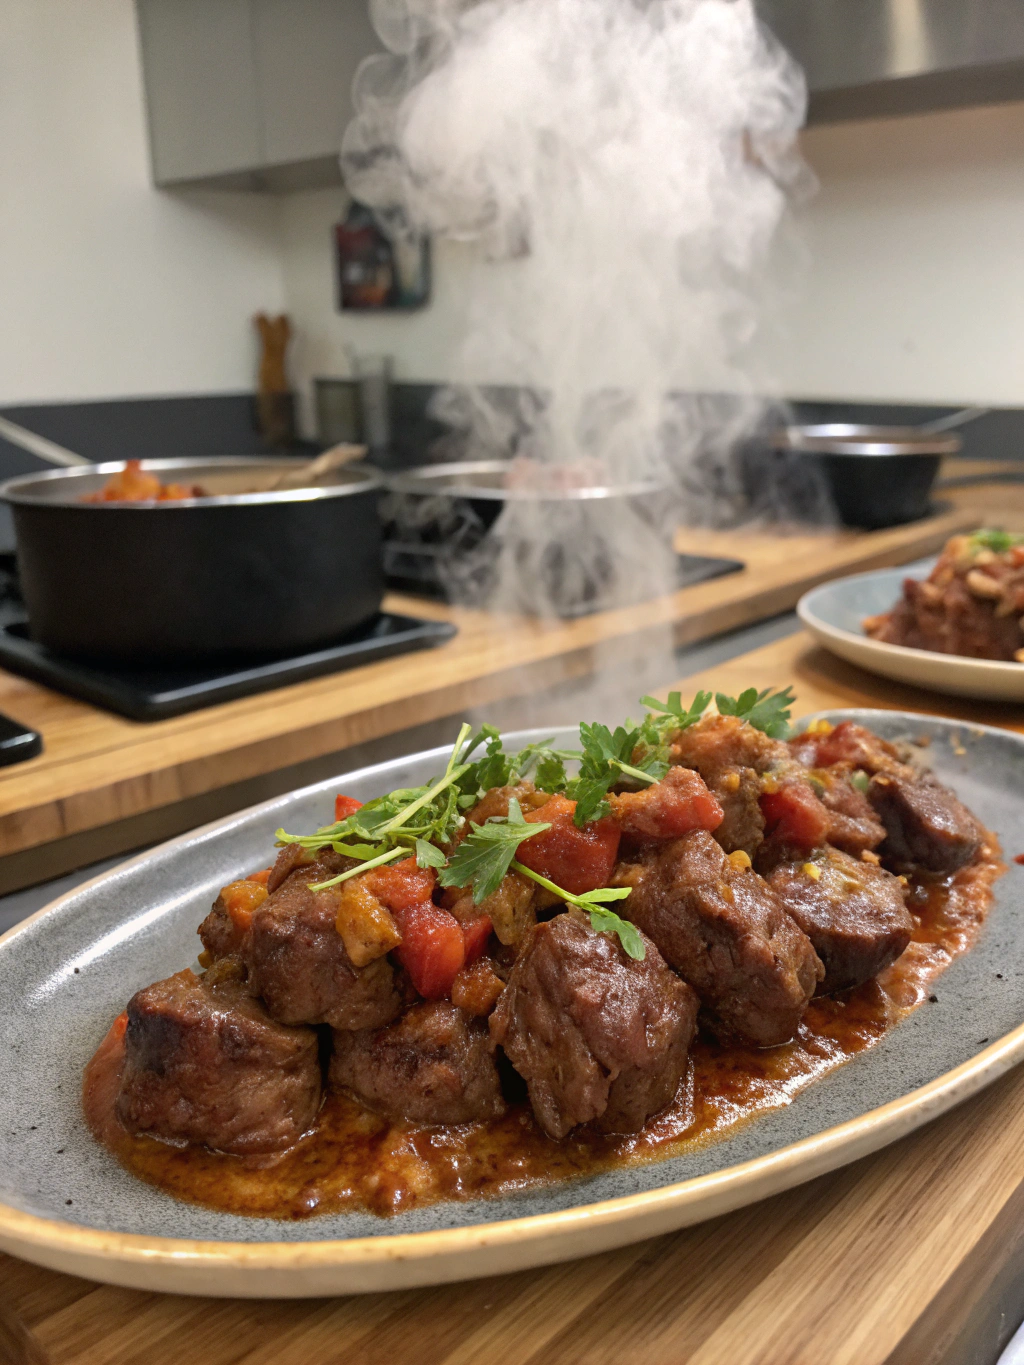
5. Finish with Fresh Herbs
Before serving, garnish with fresh herbs like basil or cilantro for a burst of flavor and visual appeal.
Pro Tip: Serve with sliced avocado or a squeeze of lime for an extra zing!
Nutritional Information
Each serving of the dishes made from these ingredients provides:
- Calories: Approx. 300
- Protein: 20g
- Carbohydrates: 25g
- Fats: 15g
- Fiber: 7g
According to the USDA, a plant-based diet can lower your risk of heart disease, making these recipes advantageous for your health.
Healthier Alternatives for the Recipe
You can seamlessly integrate modifications to enhance nutritional value without sacrificing taste. Some options include:
- Whole Grains: Use brown rice or quinoa instead of white rice.
- Low-Sodium Options: Opt for low-sodium vegetable broth to lower the sodium content.
- Add Veggies: Sneak in finely chopped carrots or spinach to boost nutrients.
These alternatives not only cater to diverse dietary preferences but also ensure your meals remain satisfying and healthful.
Serving Suggestions
Pair your Beyond Meat masterpiece with:
- Tacos: Serve in corn tortillas topped with diced onions and cilantro.
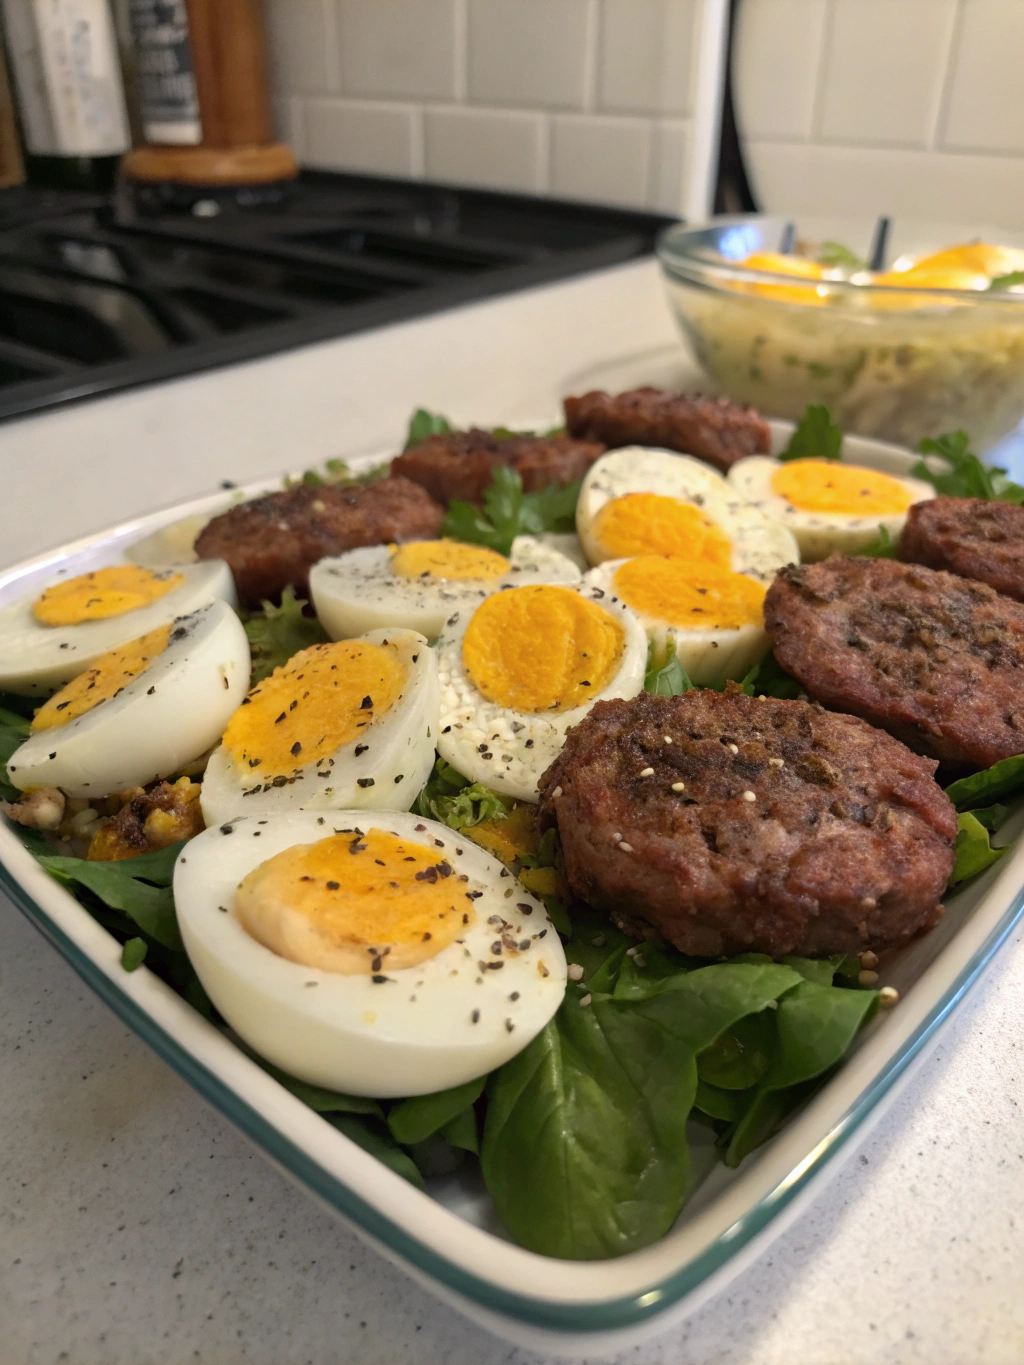
- Salads: Use as a protein source on a bed of mixed greens with a zesty vinaigrette.
- Wraps: Roll it up with lettuce, tomatoes, and your favorite sauce.
Personal Tip: A drizzle of tahini or a dollop of guacamole elevates the flavor and creaminess!
Common Mistakes to Avoid
- Overcooking the Beyond Meat: This can lead to a dry texture. Cook until browned but avoid prolonged heat.
- Neglecting Spice Balancing: Too much or too little salt can ruin your dish, so taste as you go!
- Skipping Fresh Herbs: Garnishing with herbs enhances flavor and presentation, so don’t skip this step.
Storing Tips for the Recipe
To maintain freshness and flavor:
- Refrigeration: Store leftovers in an airtight container for up to 4 days.
- Freezing: For longer storage, freeze portions in freezer-safe containers for up to 3 months. Thaw overnight in the fridge before reheating.
- Prepping Ahead: Chop vegetables and prepare spice blends ahead of time to make cooking a breeze!
Conclusion
In summary, these Beyond Meat recipes are not just delicious; they’re also quick to prepare and loaded with flavor. With the right ingredients and techniques, you can satisfy even the most ardent meat lovers with plant-based alternatives. So, gather your ingredients and dive into these easy, flavorful dishes today! Don’t forget to share your experience in the comments and explore more of our plant-based cooking posts for additional inspiration!
FAQs
Q1: Can I substitute Beyond Meat with another plant-based option?
Absolutely! You can use lentils, chickpeas, or any other meat alternative that you prefer.
Q2: Are these recipes suitable for meal prep?
Yes! They last well in the fridge and can easily be frozen for later enjoyment.
Q3: How can I make these recipes gluten-free?
Simply swap out any gluten-containing ingredients, such as certain sauces or tortillas, for gluten-free versions.
Q4: What spices work best with Beyond Meat?
Common spices that complement Beyond Meat include cumin, paprika, chili powder, and Italian herbs.
Feel free to leave any more questions in the comments, and happy cooking!