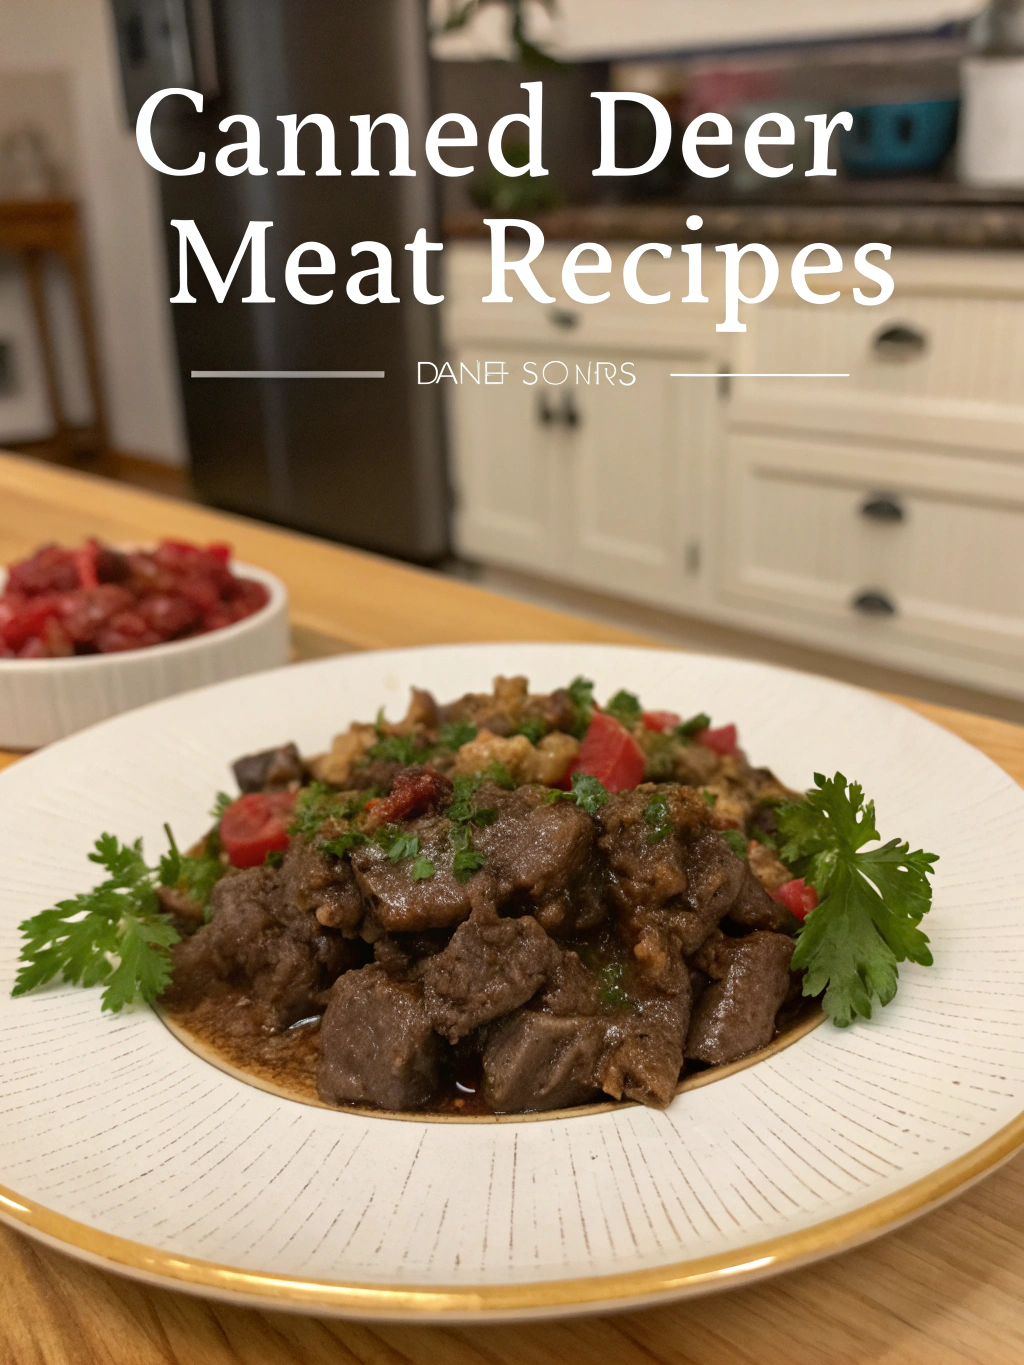
Are you looking for easy, flavorful venison ground meat recipes? With increasing interest in sustainable meat sources, venison has gained popularity among home cooks and chefs alike. Surprisingly, did you know that venison is leaner than beef, making it an excellent alternative for those who enjoy hearty dishes without the extra fat? In this post, we’ll explore five must-try dishes that will elevate your dinner game, packed with tips and tricks to make the most of this delicious, nutrient-dense meat. Let’s dive in!
Ingredients List
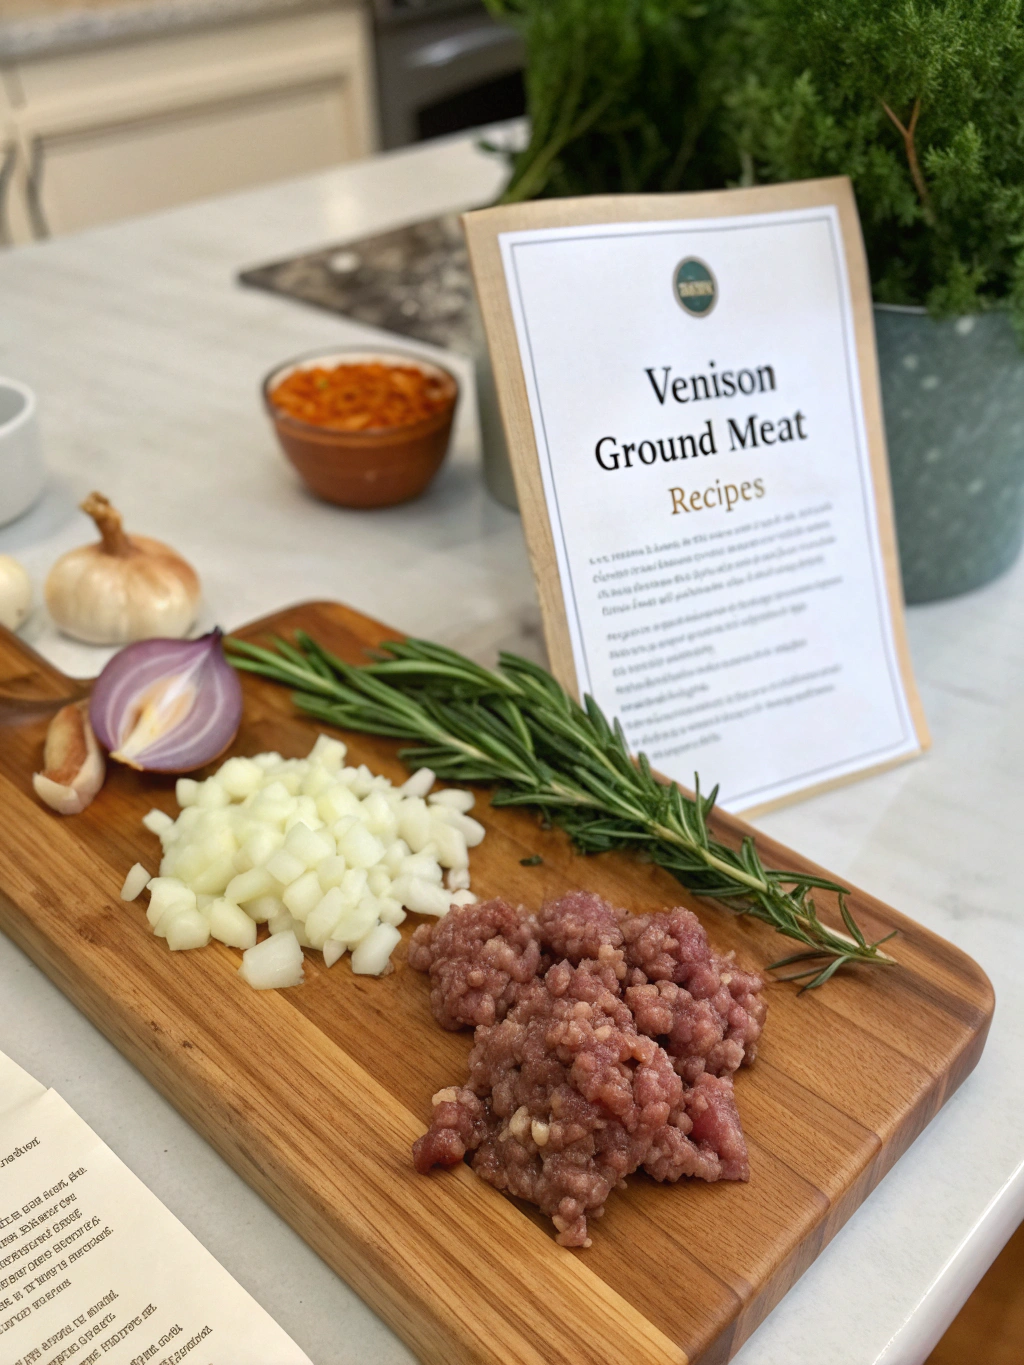
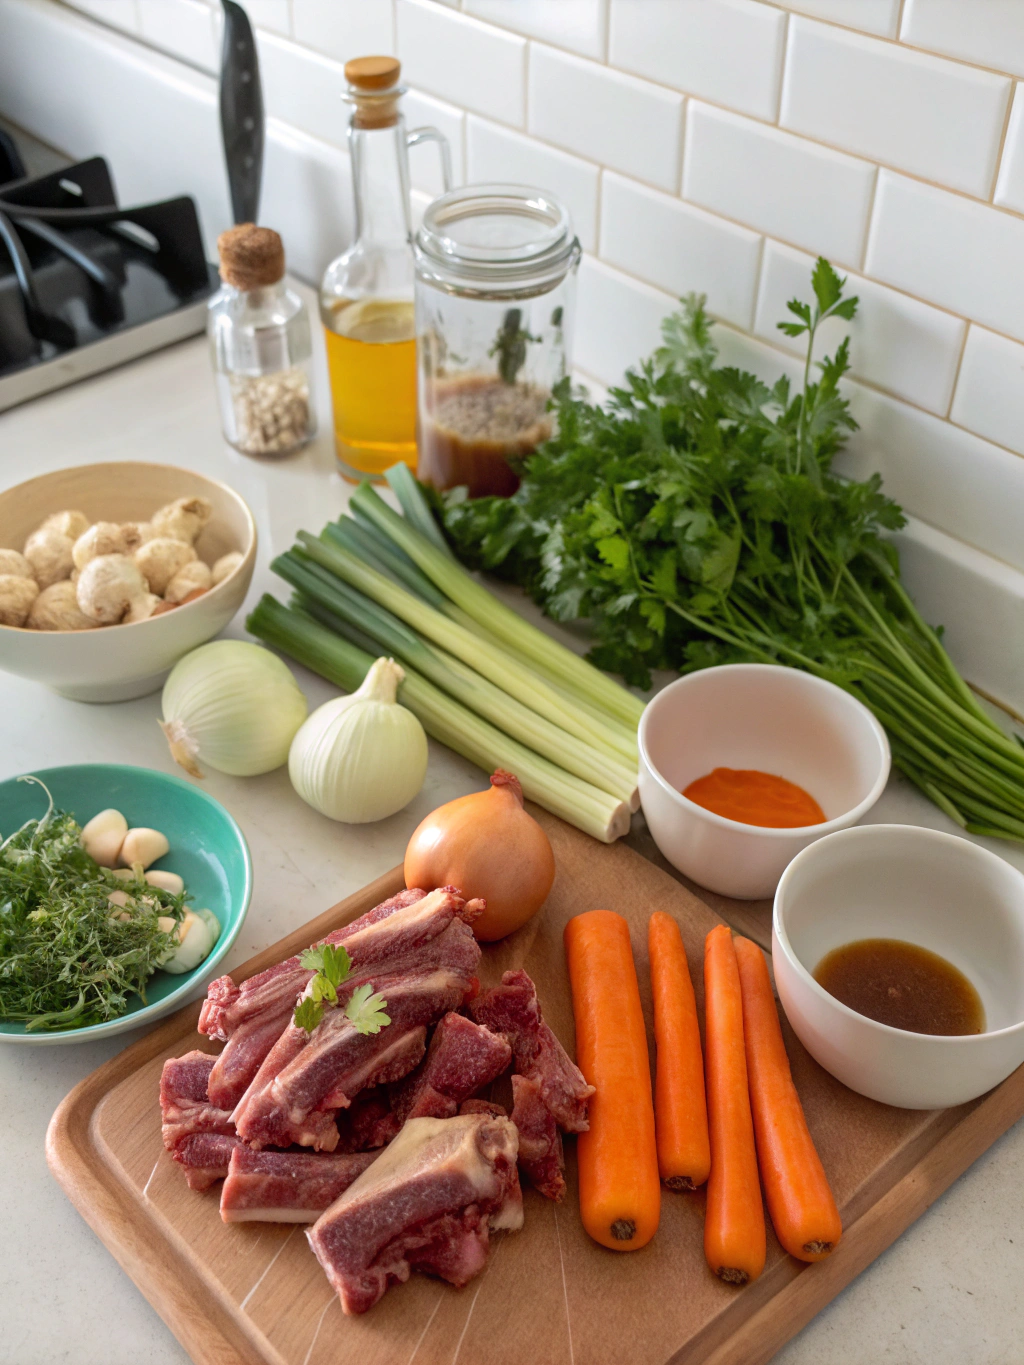
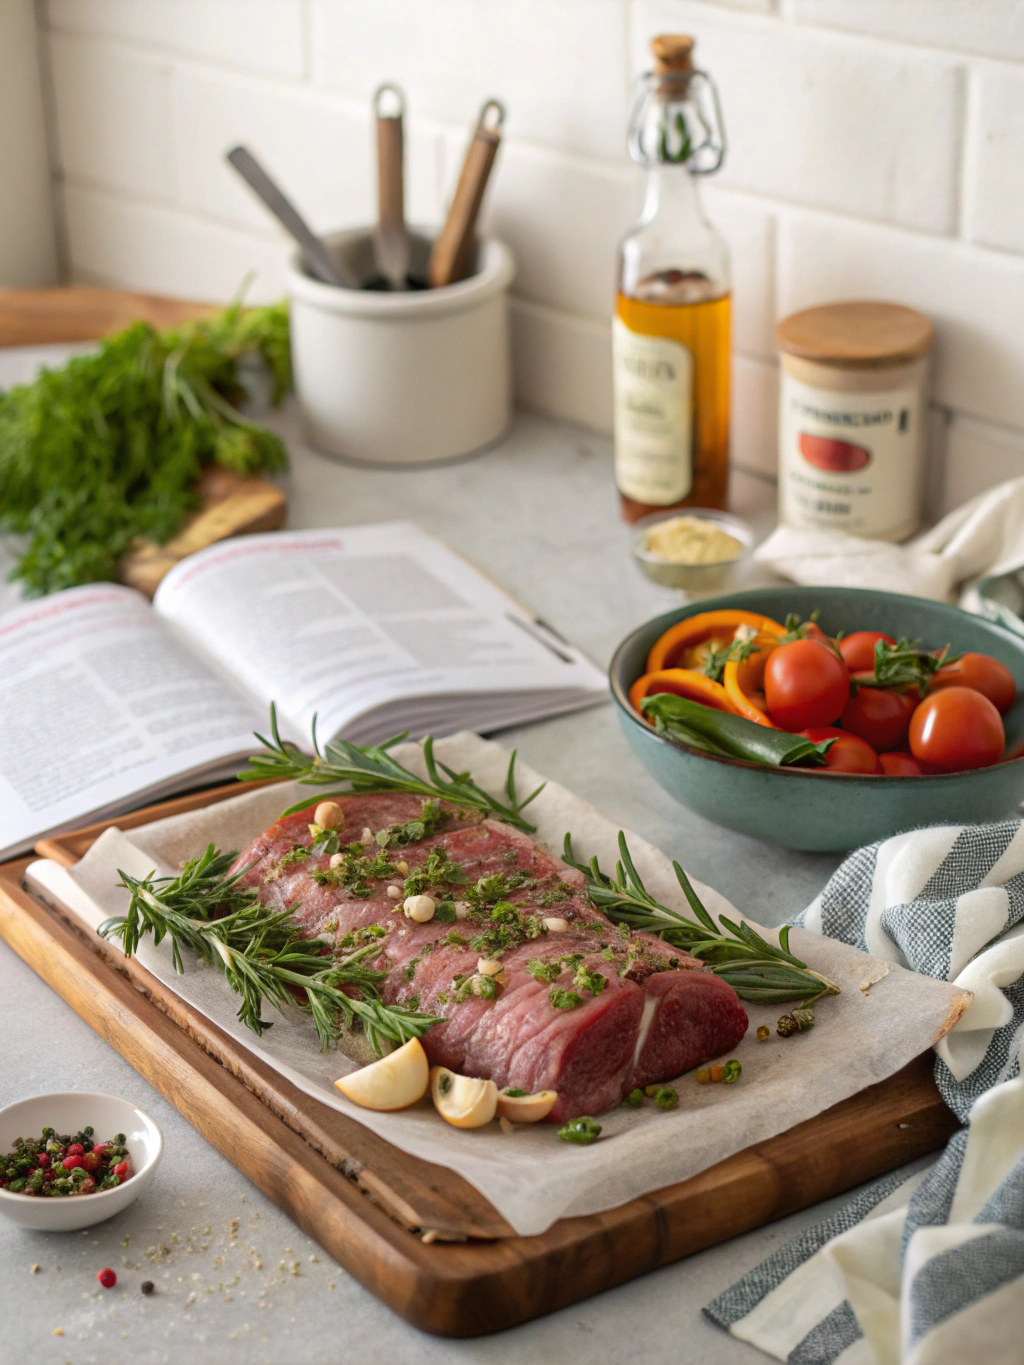
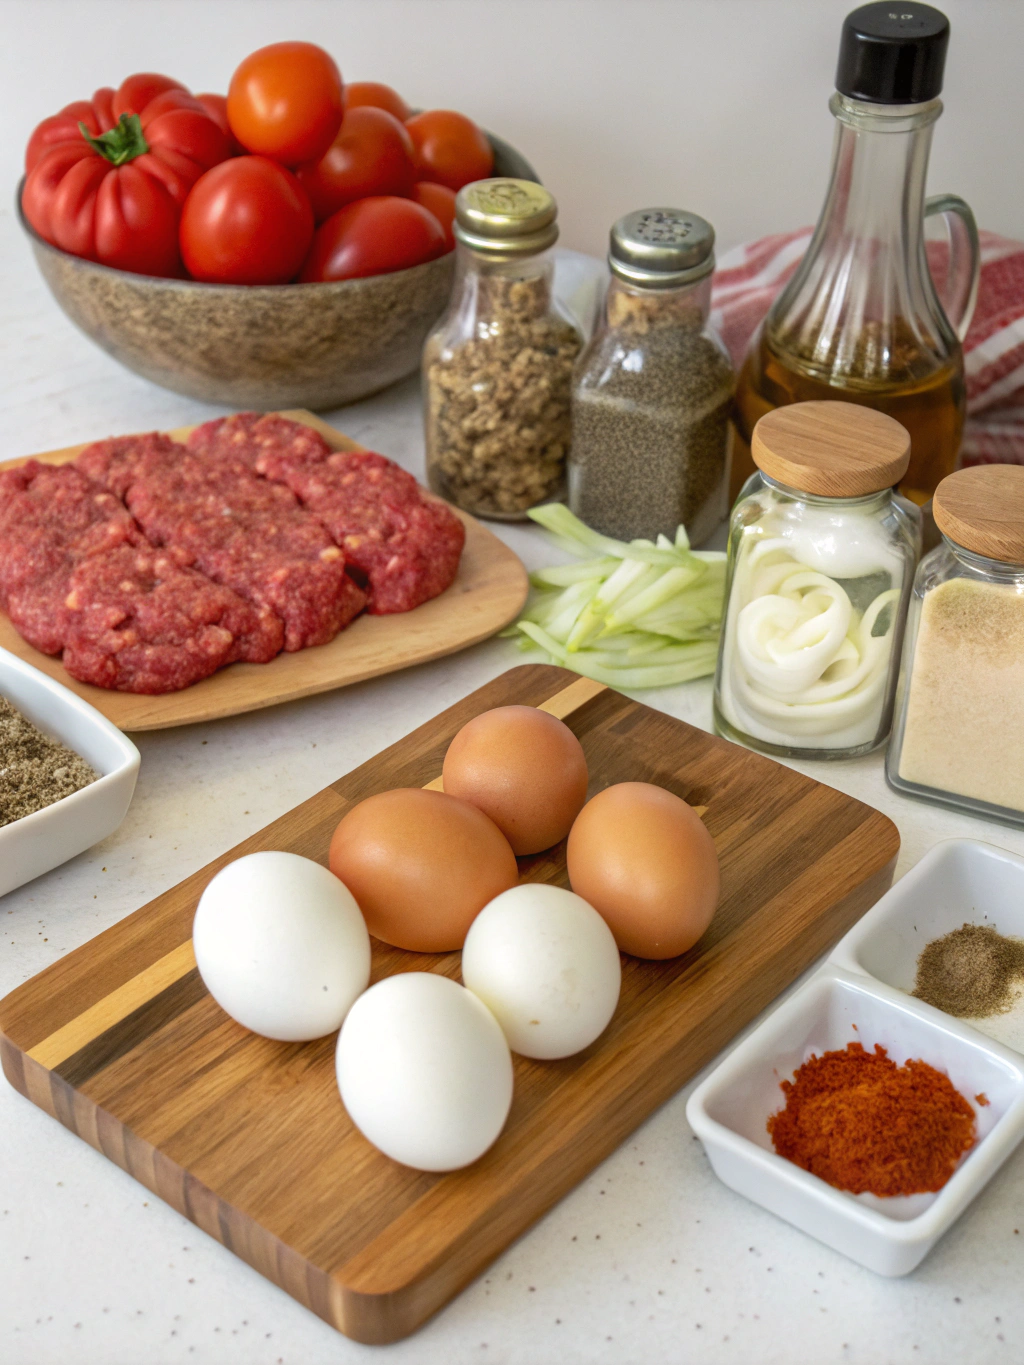
To create these tantalizing venison ground meat recipes, gather the following ingredients. Each recipe will call for variations, so feel free to mix and match based on what you have in your pantry!
- 1 pound of ground venison
- 1 onion, finely chopped
- 2 cloves of garlic, minced
- 1 bell pepper, diced (red, green, or your favorite)
- 1 cup of breadcrumbs (or gluten-free alternatives)
- 1 cup of shredded cheese (cheddar or mozzarella)
- 2 tablespoons of Worcestershire sauce
- 1 tablespoon of olive oil (or butter for a richer taste)
- Fresh herbs (like parsley or thyme) for garnish
- Salt and pepper to taste
- Optional: chili powder or Italian seasoning for added flavor
Timing
Each recipe typically requires around 30 to 45 minutes of prep and cooking time, which is roughly 20% less time than the average meat-based recipe. Let’s make the most of your culinary efforts with these quick yet satisfying venison dishes!
Step-by-Step Instructions
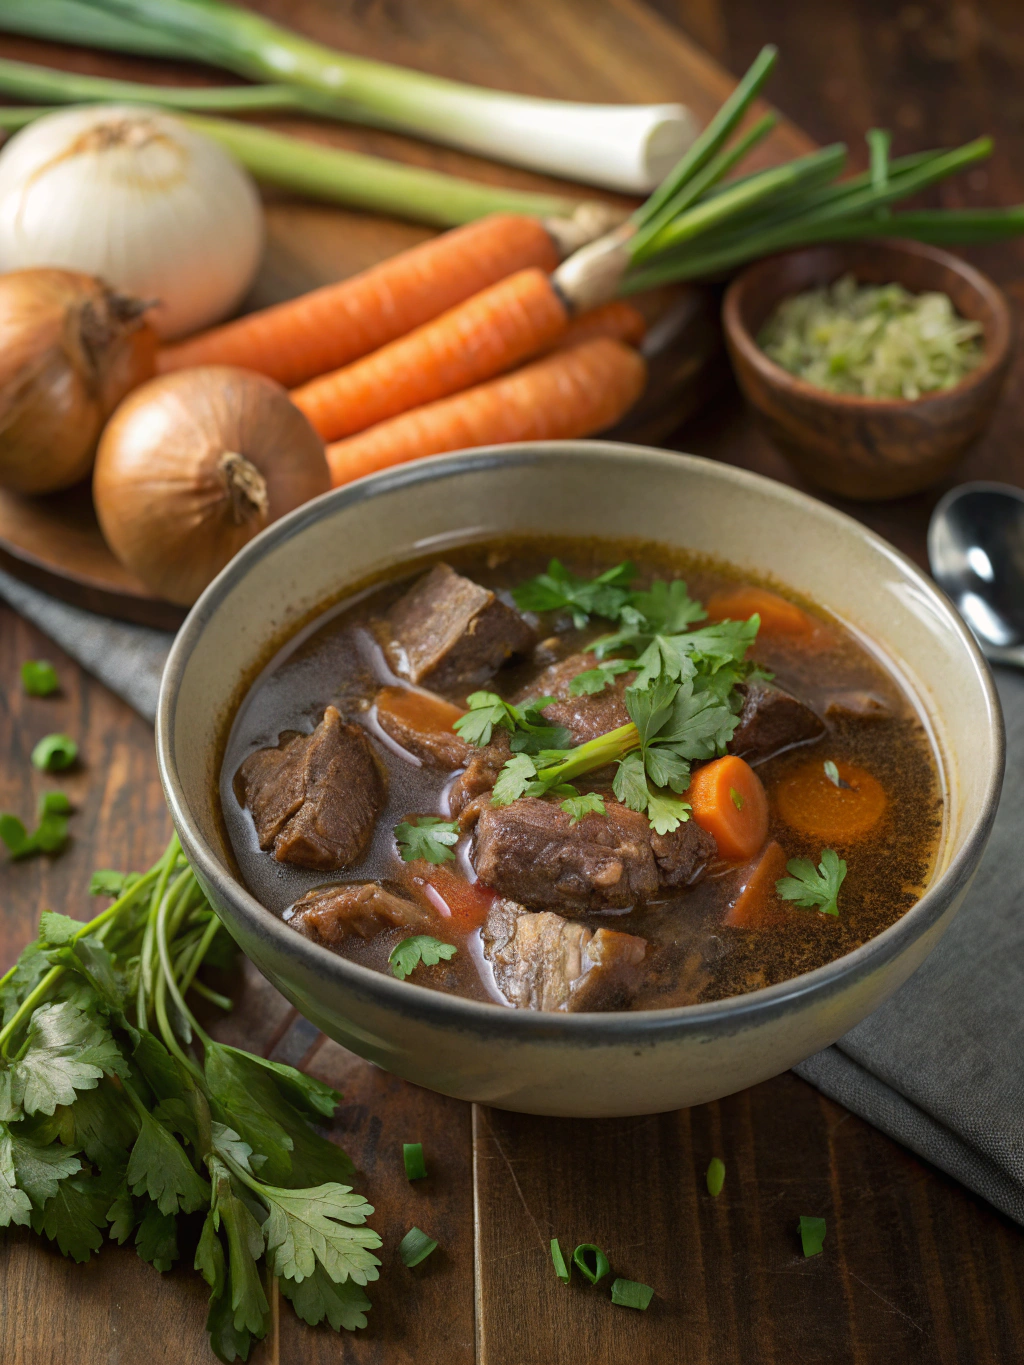
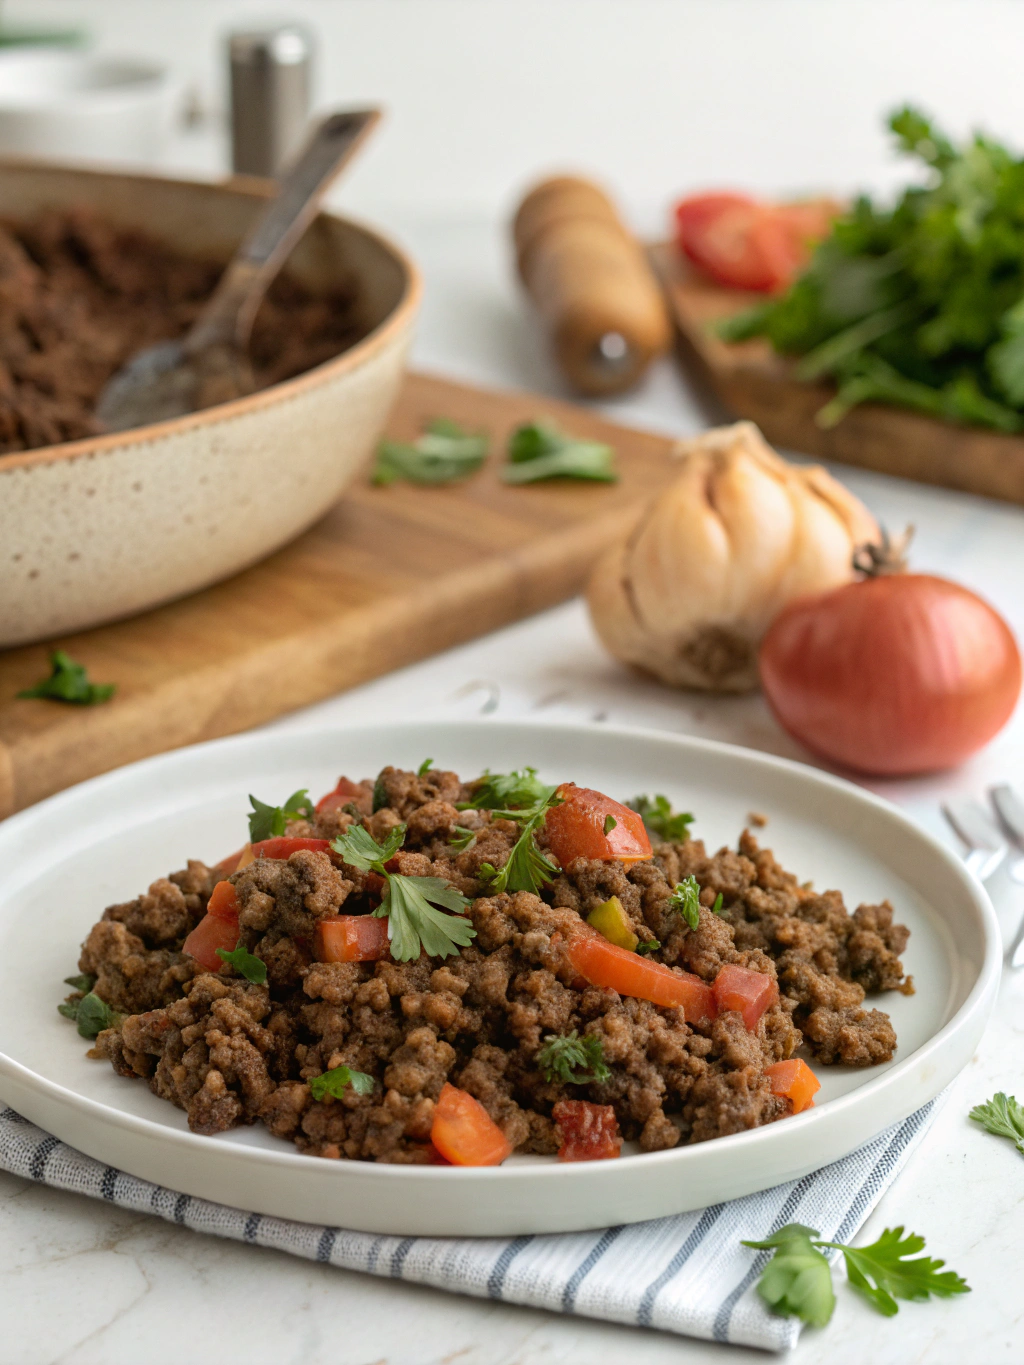
1. Venison Chili
- Sauté onions and garlic: In a large pot, heat olive oil over medium heat. Add chopped onions and minced garlic. Sauté until fragrant and translucent.
- Brown the meat: Add the ground venison, stirring until browned. Season with salt, pepper, and optional chili powder.
- Add vegetables: Stir in diced bell peppers. Cook for another 5 minutes until softened.
- Simmer: Add a can of diced tomatoes and a cup of water. Bring to a boil, then reduce heat and simmer for 20 minutes, stirring occasionally.
- Serve hot: Garnish with fresh herbs, if desired. Pair with cornbread or over rice.
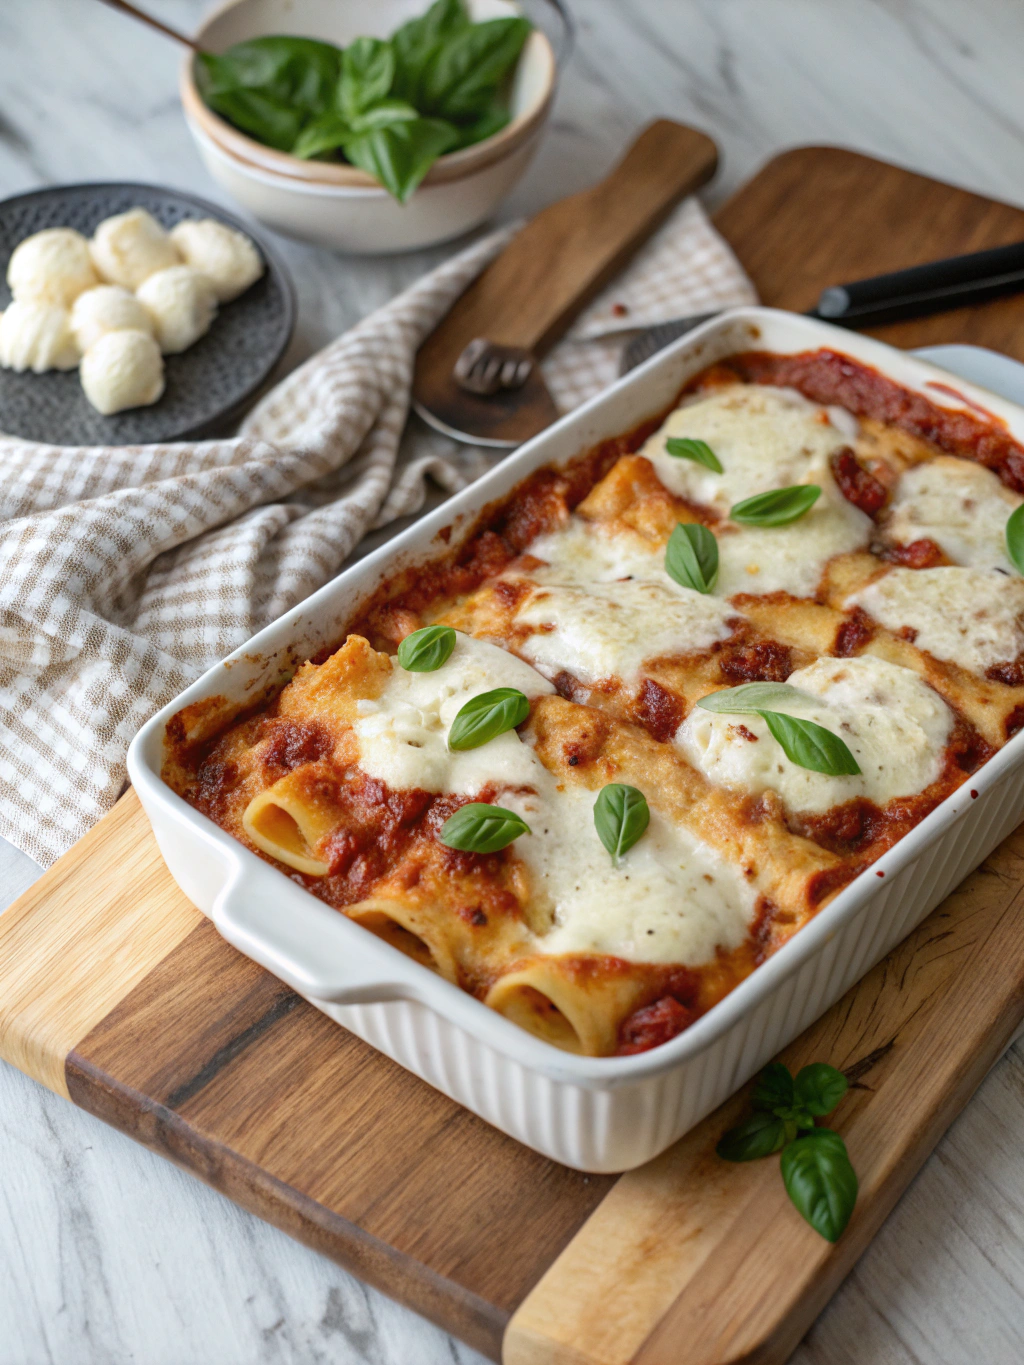
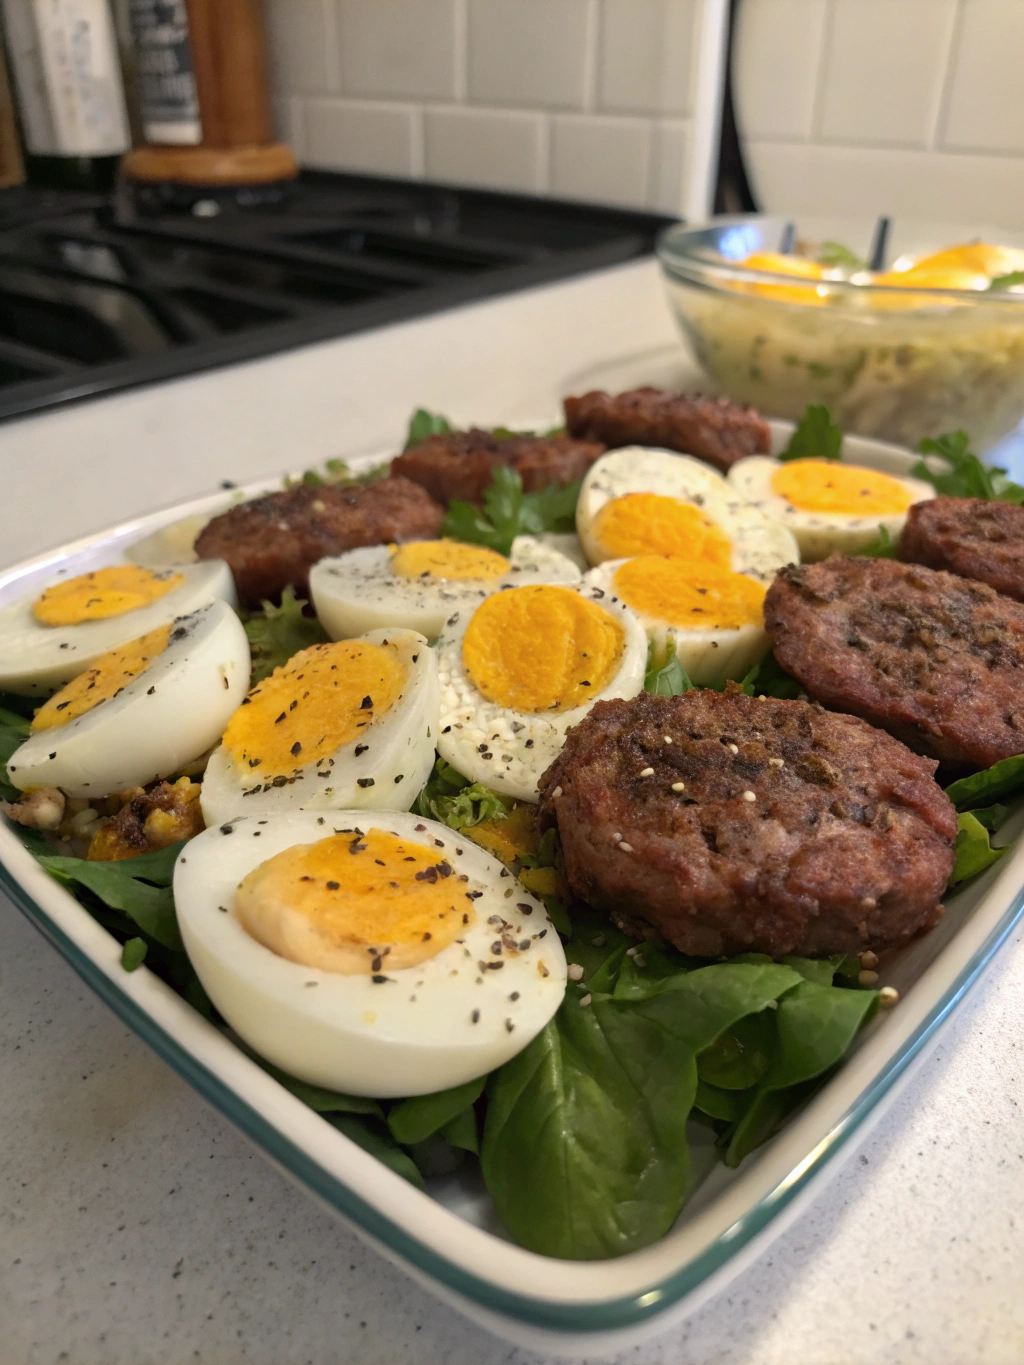
2. Venison Meatballs
- Mix ingredients: In a bowl, combine ground venison, breadcrumbs, Worcestershire sauce, and spices. Mix thoroughly by hand.
- Shape meatballs: Form into 1-inch meatballs and place on a baking sheet.
- Bake: Preheat oven to 400°F (200°C) and bake meatballs for 20 minutes, or until cooked through.
- Serve with sauce: Pair with marinara sauce and spaghetti or serve on toothpicks as appetizers.
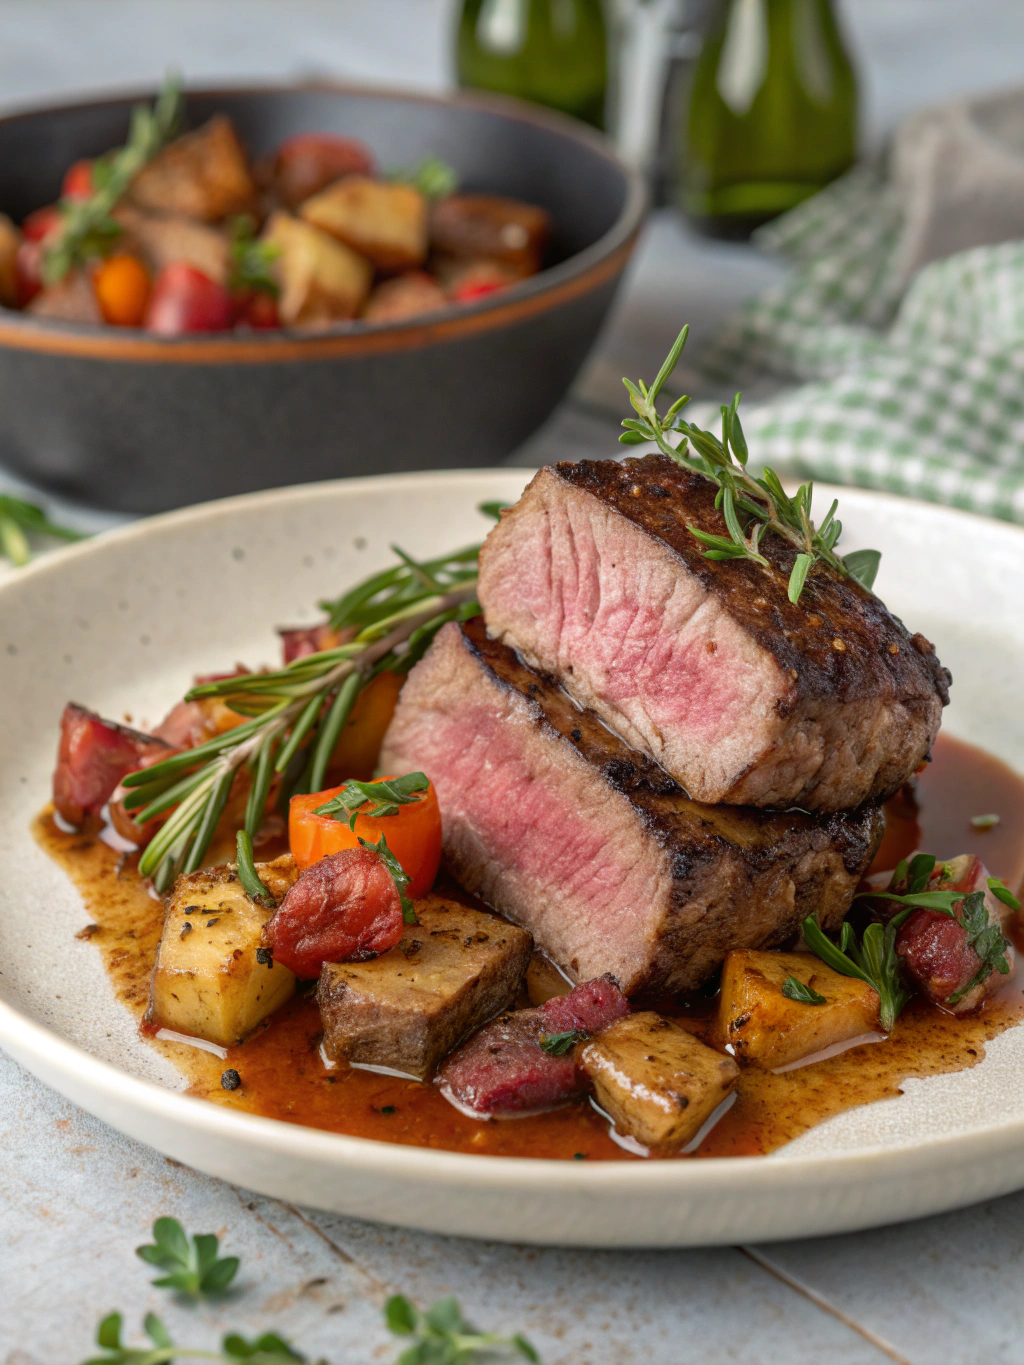
3. Venison Burgers
- Prepare the mix: In a bowl, combine ground venison, chopped onions, salt, pepper, and optional seasoning.
- Form patties: Shape into 4 evenly sized burger patties.
- Grill or pan-fry: Heat a grill or skillet over medium-high heat. Cook burgers for about 5-6 minutes per side, or until desired doneness.
- Serve: Top with cheese until melted and serve on buns with your favorite toppings!
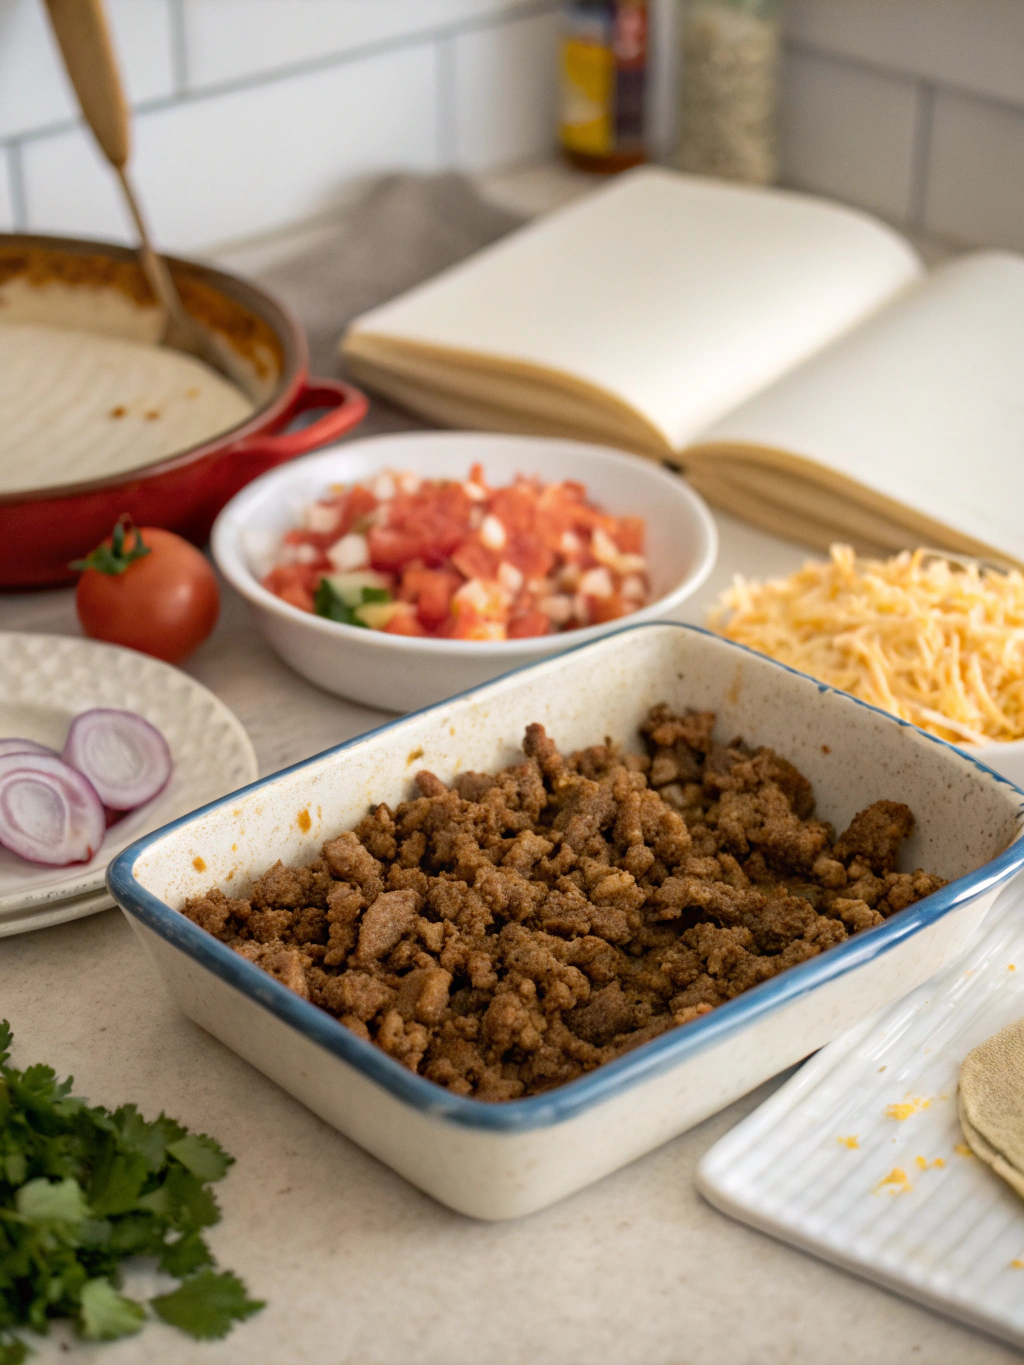
4. Venison Tacos
- Cook onions and meat: In a skillet, heat olive oil over medium heat. Add onions, cooking until translucent, and then add ground venison.
- Season: Add taco seasoning and cook until meat is browned.
- Assemble tacos: Serve in taco shells with toppings like lettuce, cheese, salsa, and guacamole.
- Garnish: Sprinkle fresh herbs for extra flavor.
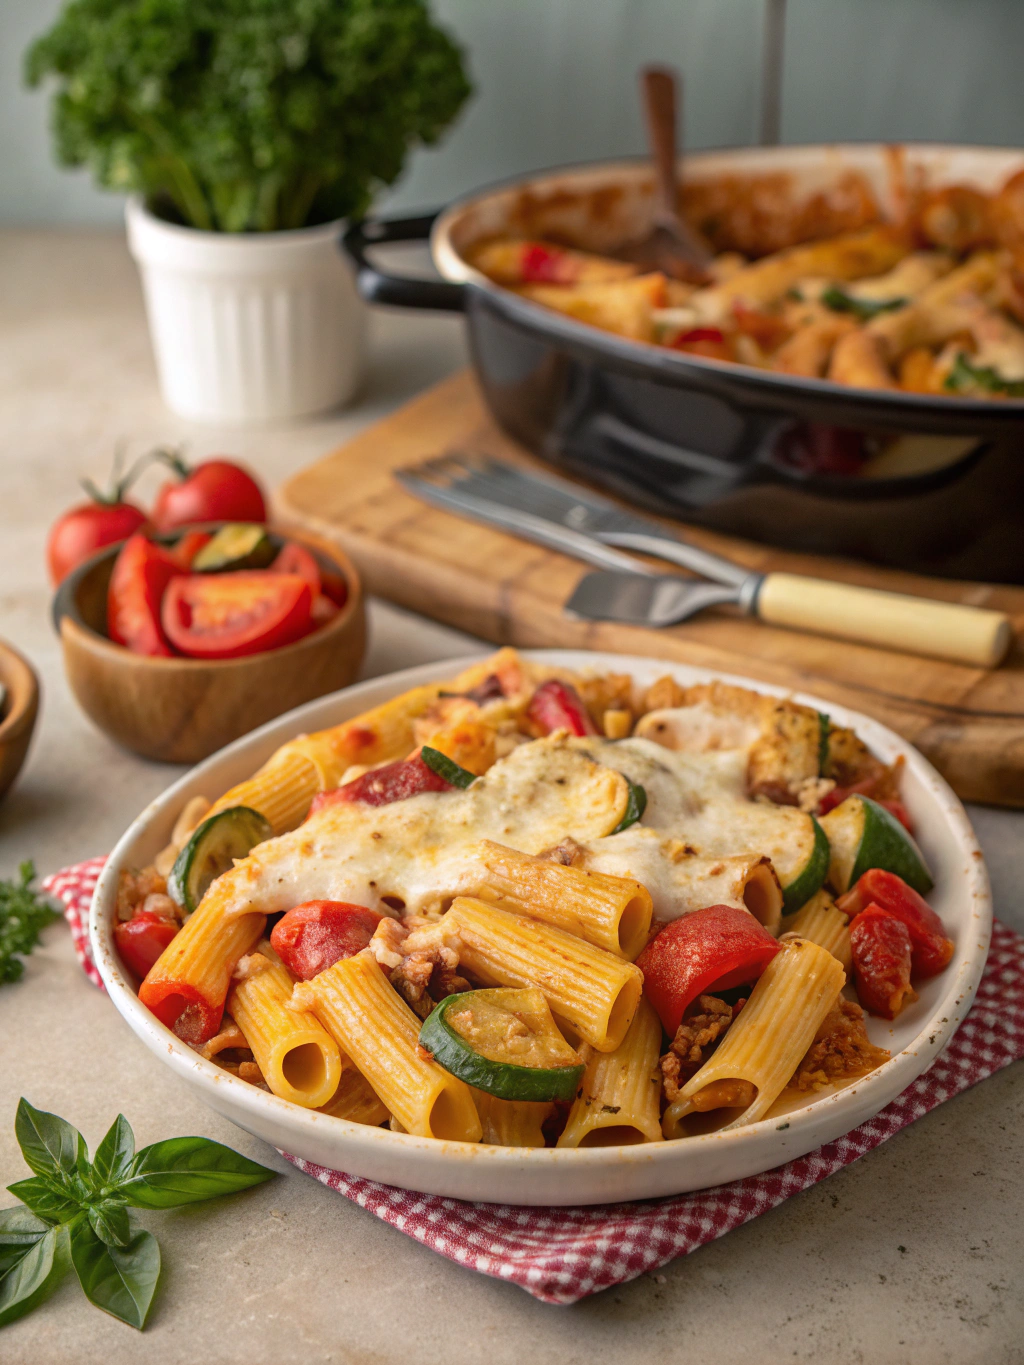
5. Venison Stuffed Peppers
- Prepare peppers: Halve bell peppers and remove seeds. Preheat the oven to 375°F (190°C).
- Sauté mixture: In a skillet, cook ground venison with onions, garlic, and seasonings until browned. Add cooked rice and cheese.
- Stuff peppers: Fill each pepper with the venison mixture and place in a baking dish.
- Bake: Cover with foil and bake for 30 minutes. Remove the foil and bake for an additional 10 minutes for a golden top.
Nutritional Information
These venison recipes not only satisfy your taste buds but bring a wealth of nutritional benefits:
- High in Protein: Ground venison offers around 28 grams of protein per 3.5-ounce serving, which is beneficial for muscle growth and repair.
- Low in Fat: Venison is leaner than many other meats, with only about 5 grams of fat, making it a great option for health-conscious diners.
- Rich in Iron: Venison is an excellent source of iron, necessary for the formation of red blood cells.
Healthier Alternatives for the Recipe
To make these recipes even healthier, consider the following substitutions:
- Use whole grain breadcrumbs or omit them entirely to lower carbs.
- Replace cheese with nutritional yeast for a lower-calorie, dairy-free option.
- Incorporate more vegetables, such as spinach or zucchini, to add nutrients.
Serving Suggestions
Get creative with your presentation! Serve the chili in a bread bowl or pile the tacos on a vibrant plate. Adding a side salad or grilled vegetables not only makes the plate visually appealing but also enhances the nutritional value.
Common Mistakes to Avoid
- Overcooking the meat: Venison can dry out easily. Monitor cooking times to ensure optimal juiciness.
- Skipping seasoning: Venison has a mild flavor. Be generous with spices to maximize taste!
- Not letting the flavors meld: Allow your dishes, especially soups and stews, to rest before serving to deepen the flavor.
Storing Tips for the Recipe
Store leftovers in airtight containers in the refrigerator for up to four days. For longer storage, freeze portions in freezer-safe bags for up to three months. Make sure to label and date your containers, ensuring you enjoy them at their freshest!
Conclusion
Now that you know these five best venison ground meat recipes, it’s time to unleash your culinary creativity! By incorporating these dishes into your dinner menu, you’ll not only enjoy the unique flavors of venison but also impress your friends and family. Try these recipes, share your thoughts, and explore more delicious combinations from our site!
FAQs
Can I substitute ground venison with other meats?
Absolutely! Ground beef, turkey, or chicken can be used as alternatives, but keep in mind that cooking times and flavors may vary.
Is venison healthy?
Yes, venison is a lean source of protein, rich in iron, and low in fat, making it a healthy alternative to many other meats.
How do I know when ground venison is cooked?
Use a meat thermometer to check for an internal temperature of 160°F (71°C) for safe consumption.
Can these recipes be made ahead of time?
Most of these recipes can be prepared ahead, especially chili and meatballs, which often taste even better the next day!
Explore these delightful venison recipes and elevate your cooking game today!